I hope you caught my blog last week about getting started on my bathroom remodel. If not, be sure to catch it here. This week I am talking about the design, the finishes, and hiring the team!
But, before I get started on the design. I have to share what I think is one of the coolest things about my house. I have the original blue prints! So, I can attest that the bathroom I remodeled is exactly the way it was laid out in 1940. The finishes (other than the floor) were updated at some point - but the layout is how it was originally designed by the architect. Below you can see the small bath in the center of the plan, and the linen and closet I am eliminating to increase the size.

So let's talk design! Below is the original floorplan and the new floorplan. Can I say aaaahhhh?! I mean look at that vanity- a full 60" of glorious countertop and storage space! The new layout also features a wider tub (32" vs the original 30"), which is also several inches deeper for a nice soak, but still usable for bathing kids. Also, by suggestion from my contractor, we changed from a 24" swing door to a 28" pocket door. Pocket doors aren't for everyone, but for us- in this case- it works great to free up bathroom and hallway space.

The Original Plan- circa 1940

The New Plan- circa 2018
Once I had the layout I loved, I got into one of my favorite parts of the design process- the Finishes! Because this is an old home in a historic neighborhood AND for the fact I am a tile obsessed nut, I started by selecting the tile. I wanted something that was reminiscent of the original home, but with a modern spin. Many of the bungalows in my neighborhood have original cement tile porches. Although I love cement tile, I found this amazing fireclay tile that fit the bill beautifully. It especially resonated with me because it looks like little mosaics (like the original floor), but they are 8"x8" tiles. Also, my original oak floors are a very orange-honey color, so the green is a beautiful compliment to the wood tones. With the flooring selected, I knew immediately I wanted to use a black tile base and a subway tile. White subway was too stark. Instead I selected a subway tile in a very soft sea foam green color with a subtle linen texture. It was just the softness I need that blended with the palette.

The palette- inspired from the tiles
I love designing with contrast, and I especially love black. So much in fact I want to paint the outside of my house black! I picked my favorite Sherwin Williams black paint, Iron Ore, for the walls. All that was left was the plumbing fixtures, vanity, and countertop. I think the hardest part for me was deciding what plumbing finish to select. My instinct was chrome (a classic), but I wondered if it was too predictable, and I had a big hesitation. My designer friend encouraged me to go bold- which I often do on my designs- instead of holding back. So I went for it, and I'm so happy I listened! I picked a lovely finish from Rohl called French Brass. It's this aged brass that looks like it's been sitting in this home for 80 years. It also has an industrial edge to it- another style I love. This is the Michael Berman, Graceline collection from Rohl.


The vanity was a challenge, because in my heart I wanted to find a vintage mid-century dresser and convert it to a sink cabinet. However, the one thing about mid-century, is all the furniture is low and sleek. All the pieces I was finding were about 28" high- way too short! In the end I found a lovely piece by Kohler with a mid-century flair with black hairpin legs (score!). You'll also see in the final photos my gorgeous sink from Kohler. It's a cast iron piece with a black underside, again - score on the black!
Once I had all the finishes and materials selected, I lined up my contractor. I selected Tom Popa with Popa Construction for my project. I work with him on a lot of my client's remodels, and I trusted him in my home. It was also fun to switch from colleague to client on this project. It was an exciting day when demo began! I remember very clearly when Tom called me and said "Have you been home yet? Don't freak out...everything can be fixed..." GULP.

Oh yea, thats old termite damage. Yuck.
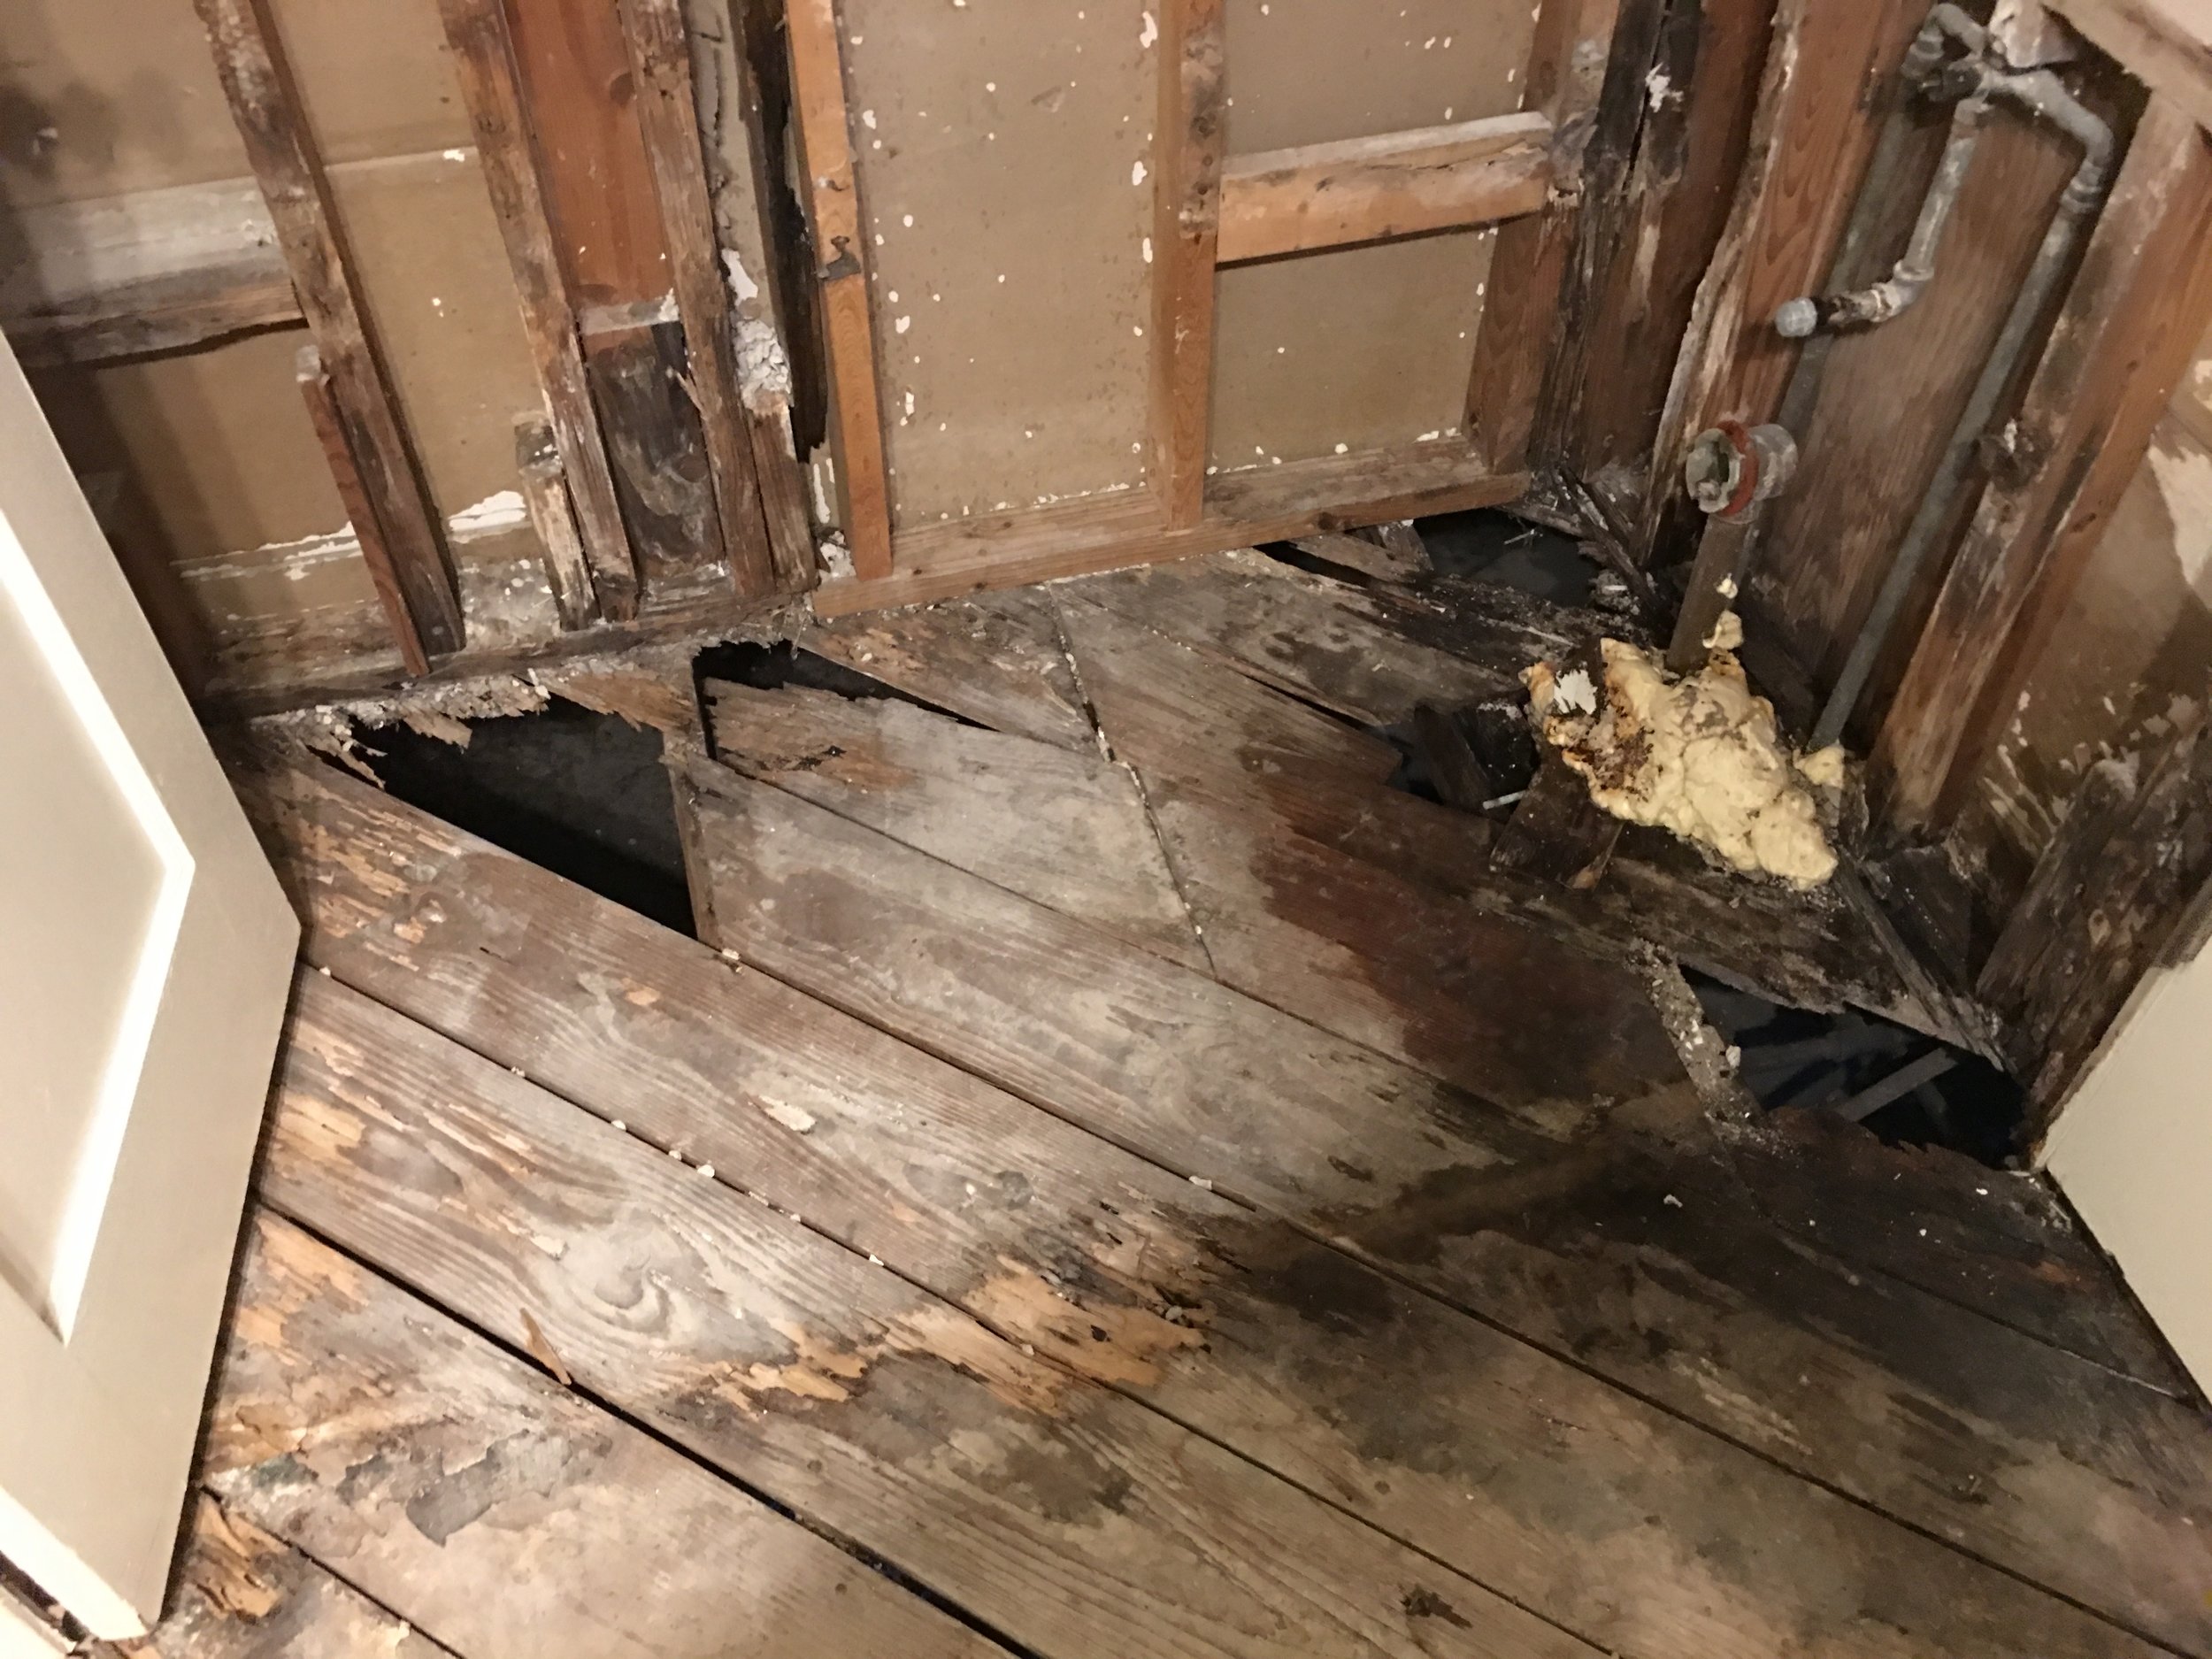
Holes. Gapping holes in my subfloor. Yes- I could look down and see the dirt in the crawlspace. Lucky our tub didn't fall through the floor!
Stay tuned next week for the rest of the remodel- it gets good! And yes- you get to see me make a rookie mistake. -Brooke