Watching my bathroom be ripped apart on Demo Day was so exciting! I loved racing home to see the shell of the space. Unfortunately, there was hidden damage from water (known) and termites (unknown) - see blogs part 1 and part 2 if you missed the previous posts. Fortunately, the whole floor was being removed to run all new water and sewer lines, so the damaged subfloor was a non-issue.
Under my crawl space- this is where all the new plumbing will be run.
Tom had plywood subfloor laid over the crawl space to keep my animals safe. However my cat did find a way to crawl under the house through a small hole but I found him quickly!
Once I had a blank shell I was able to really envision how much space I was going to have in the new bathroom. Remember that rookie mistake I mentioned last week? Welllll..... I pulled a "Can I make a change?" on week 1. I decided to add a shower ledge on the back wall, in addition to the niche already planned. I envision the ledge for plants to bring some greenery and nature into the space. It seems like a simple request right? Well it is, expect Tom had to rearrange to get the framer out to get it installed before the plumber came, which he was gracious enough to do. In the end it only affected the schedule 1 day. My takeaway? Plan as much as humanly possible. BUT recognizing you might see things different once you are in the space. Most of my clients come up with some small change through the build, it just becomes part of the process. Having a team that can pivot at that moment is crucial.
Shower ledge framed in
77 year old cast iron pipe coming out
New pvc drain lines and cpvc water lines
The initial part of the build went pretty smoothly...demo, rough plumbing, inspection, subfloor, framing, inspection, 2nd rough plumbing, inspection, drywall and wedi, texture, paint.
Rough plumbing (new drains, wall mounted faucet rough, and vent stack), medicine cabinet framing, rough electrical
Drywall install
My house has a specific type of door that isn't available any more. I found a match at a local salvage shop. It was a swing door so the guys filled the holes to make it a pocket door. (Did I mention it has like 3 layers of paint?)
Then the fun part started... TILE! I can remember my excitement the day the floor was installed. In fact, I don't even know how I managed to work that day (but I did). I raced home to view my long awaited new floor- it was glorious! At that moment I was so happy I splurged on this Fireclay tile. Many times I questioned if I should spend that much on a guest bathroom floor. This too is part of the process, one many of my clients go through also - "Is it worth it?, Should I go for it?". The answer for me, was YES. I walk by my floor every single day and love it. It brings me joy :) Be sure to keep reading to the bottom for final photos and a full video of the whole project!
Laying out the floor tile pattern
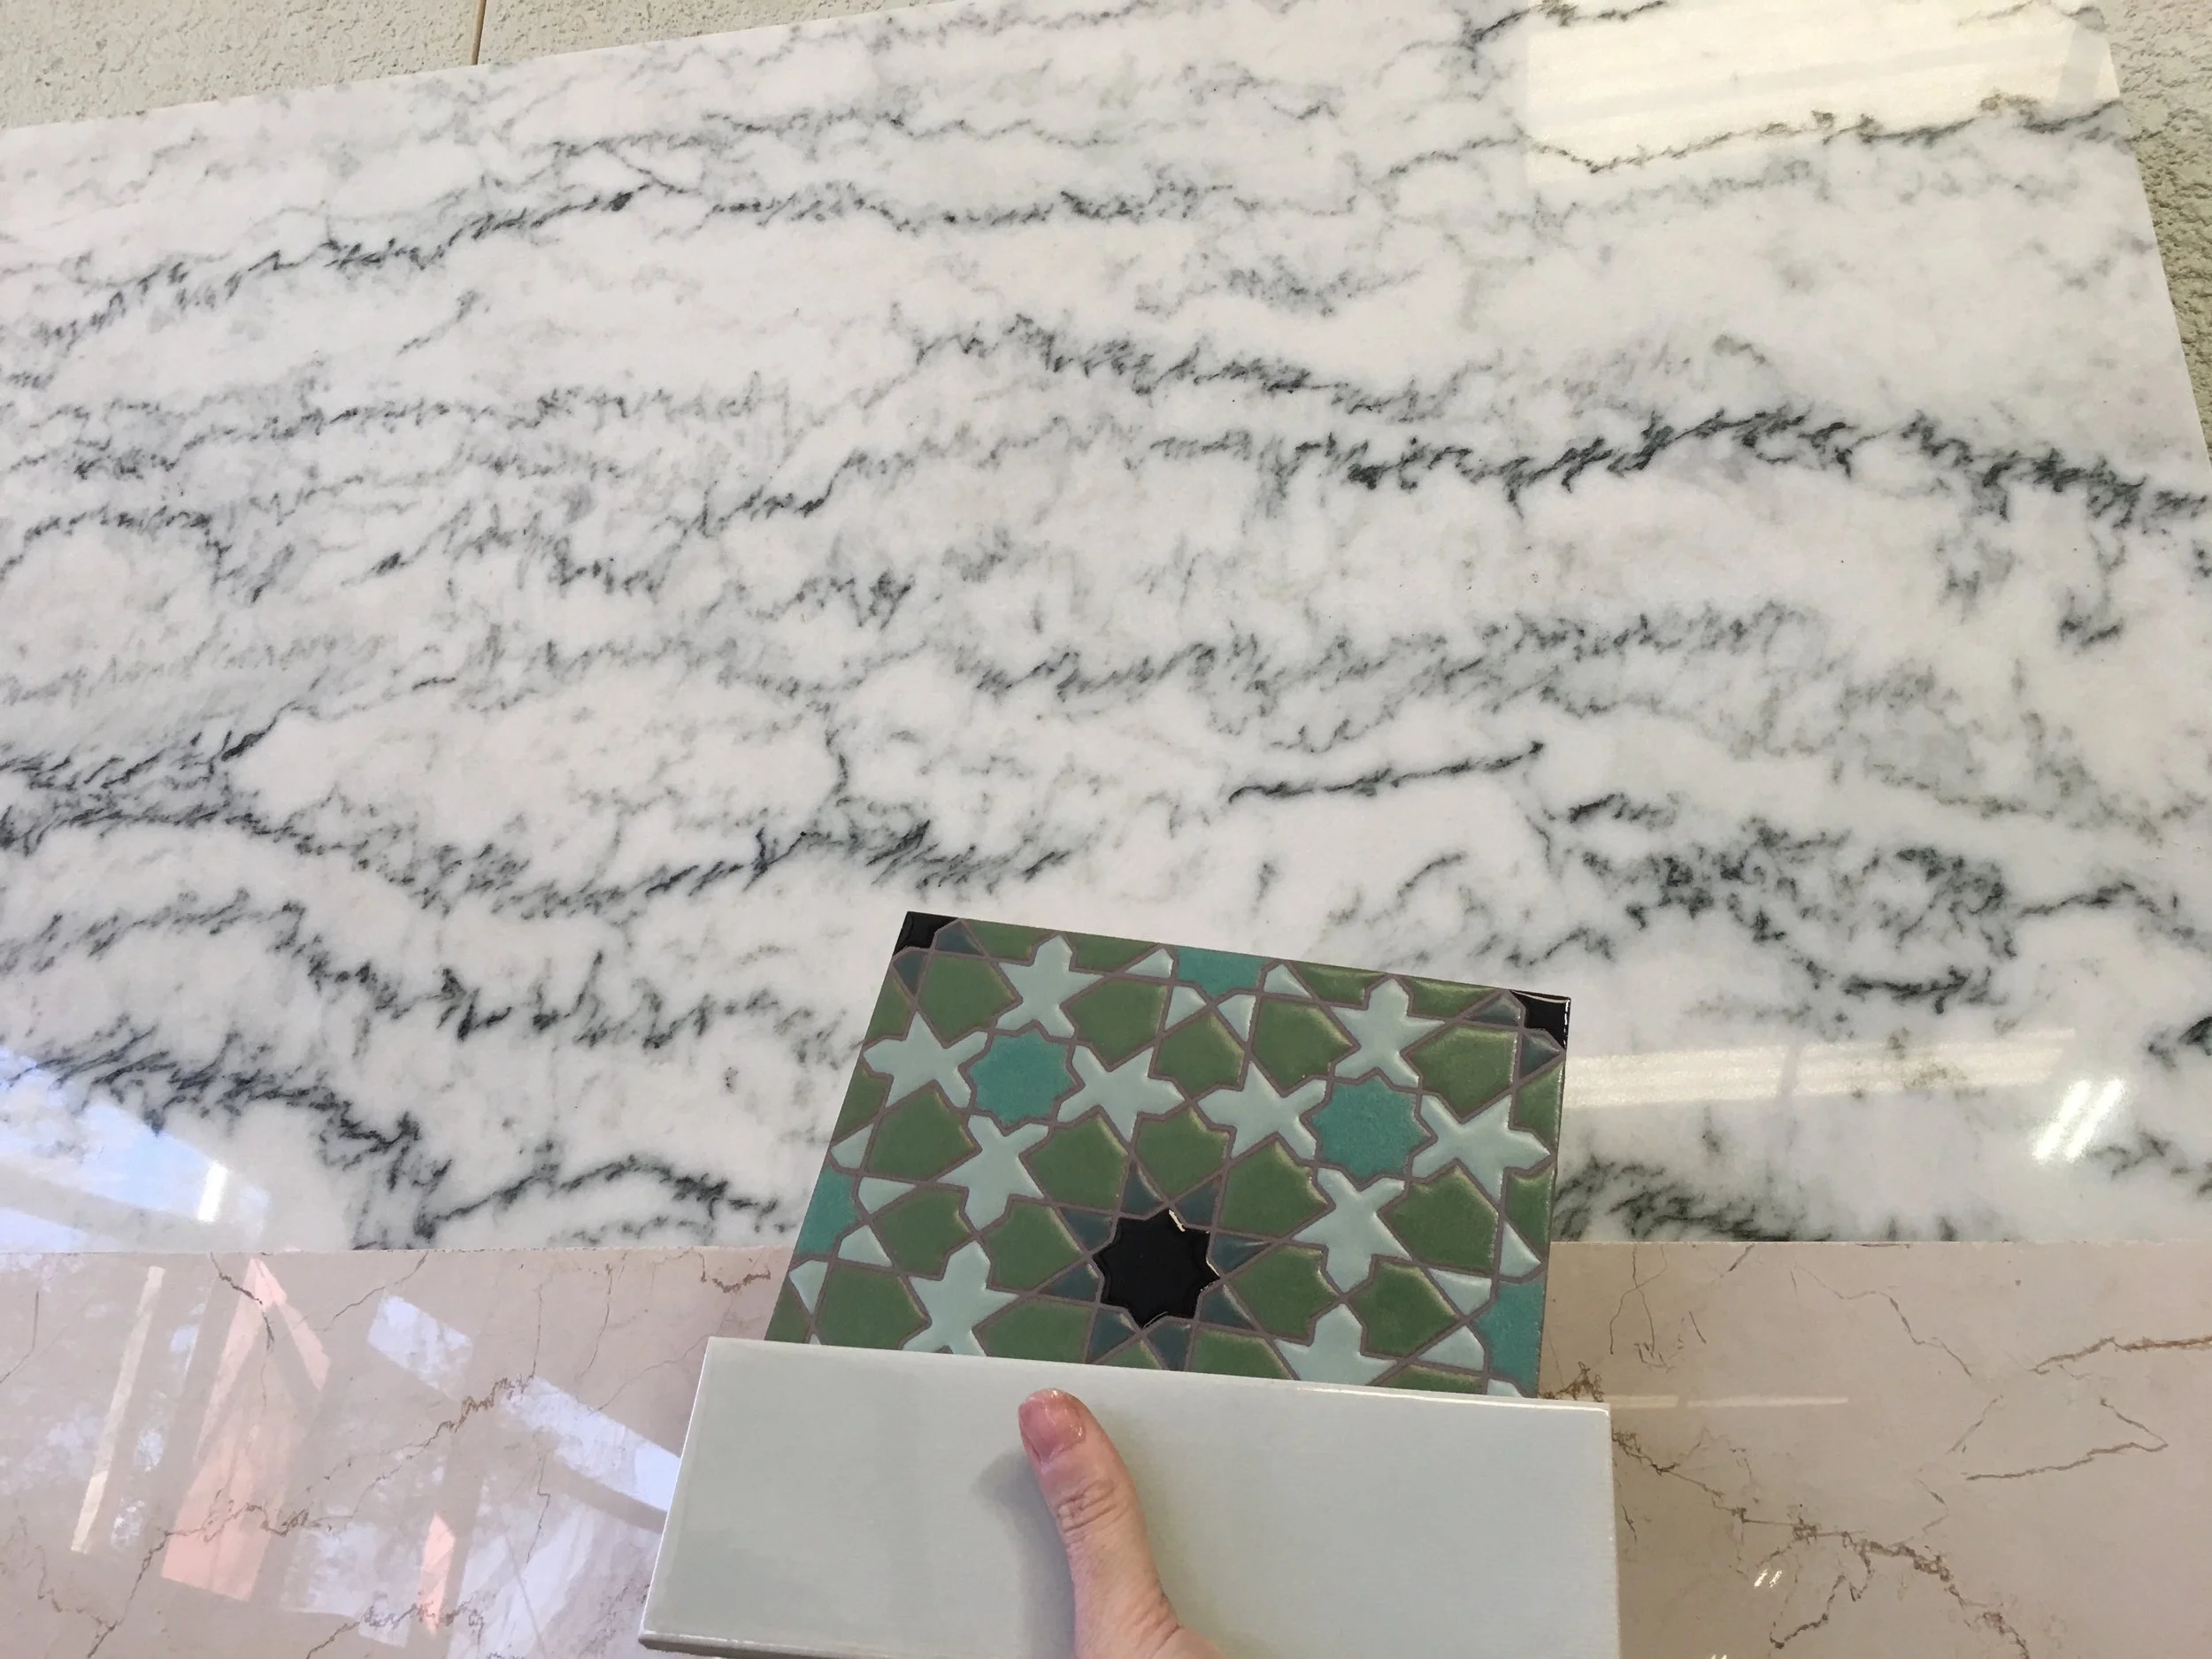
Countertop shopping. I found this beautiful marble from Mont Krest in Largo.
Next up was the install of the tile walls. It seems pretty simple at first glance, a simple 3" x 9" subway tile. But because there is a wainscot tile wrapping the room, the level line needs to continue perfectly around the room. And I wanted exactly 4 courses of tile above the countertop with a top molding, which needed to capture the wall mounted faucet, and leave an inch under the medicine cabinet, which needed to be recessed in the wall (done at framing stage weeks ago). So yea, a lot of planning, and a lot of precision. Because of this we decided to start the tile center of the wall mounted faucet and work around the room. The guys worked so hard throughout the week. I remember coming home the day they finished (which was the back wall of the shower). I walked in and my heart sunk, the tile was crooked. I thought my eyes were playing tricks on me. I got a level and a tape measure and triple checked. Yup, crooked. I was devastated. It was late so I emailed Tom. He called me right away. He didn't panic, he was calm and collected. He met me out at the house in the morning. I played my role as client and stayed out of the way. I let him meet privately with his tile installers in the bathroom to determine the issue. About 15 min later he calls me in to discuss the plan. Yes, it was off level. Somehow when the guys started the back wall it started angling about midway up and by the top it was off level. He told me they were going to remove the tile and make it right. I was heartbroken my beautiful tile had to come down, but so grateful he was going to fix it without question!
Beautiful tile, just a little off level.
Tile coming down :(
Tile saved to reinstall. They had to cut the thin set off the back of the tile.
This is my takeaway from that moment. Everything we do in our client's homes is built by hands. It's not built by a machine, it is built by hands, and no two hands are alike. And hands can make mistakes. But my GC didn't walk away, he didn't pass the blame, he took care of it.
Ok, tile crisis diverted. Did I also mention this was a week before Christmas? And I needed my bathroom functional by Christmas? Here is a brief timeline of that week so you can feel the anxiety with me.
Dec 11- Wedi walls installed and ready for wall tile
Dec 12-15- Wall tile install
Dec 15- Discover crooked tile
Dec 16- Wall tile removed to be reinstalled
Dec 18- Vanity installed
Dec 19- Countertop installed
Dec 20- Plumbing connected for sink and toilet
I have learned my lesson in years past promising job completions to clients by major holidays is so stressful. There are too many things that can go wrong: product damages, weather delays, sick tradesmen, the list goes on and on. Sometimes we get lucky and things fall to completion around holidays- I call those bonuses. So, I broke my own rule. I wanted my bathroom done by Christmas. (I was never promised Christmas, it was my own unrealistic request). #toomuchstress It stresses everyone out- The GC, the designer, the installers, and the client. And no one wants stress around the holidays!
But Tom did it, he got me a working toilet and sink by Christmas. The shower wasn't complete, but that was ok. After the holidays passed by it was time to finish the bathroom. Hang the medicine cabinet and custom frame they built for me (love it!), the shower plumbing, the final paint coat, wall sconces, electrical trim, vent fan (did I mention it has a blue tooth speaker??). As I am writing this, we now are the proud parents of a 5 week old baby boy. We love playing music for him while we give him a bath. There are no batteries to charge, no speakers to locate...just turn on the vent fan, connect your phones bluetooth, and music! Such a nice feature - I recommend this one a lot to my clients. With the heavy construction finished, it was time to decorate. Art, curtain rod, window treatments, soap holders, plants, and towels.
And a HUGE thank you to Tom and his team of Popa Construction for dealing with this super picky and high maintenance designer. I am the first to admit I am not an easy one- dust stresses me out and I have high expectations. But I am so happy and love the results - Thank you so much!
Can I just say- I LOVE my bathroom?? (And my husband loves that it is over! HA). It is such a reflection of my style. It blends vintage, mid century, and industrial all in one space. It uses artisan tiles, beautiful wood tones, and unique finishes. It looks new and old at the same time. It fits our little 1940 house perfectly. See final bathroom below: Photos and a full video documentary!
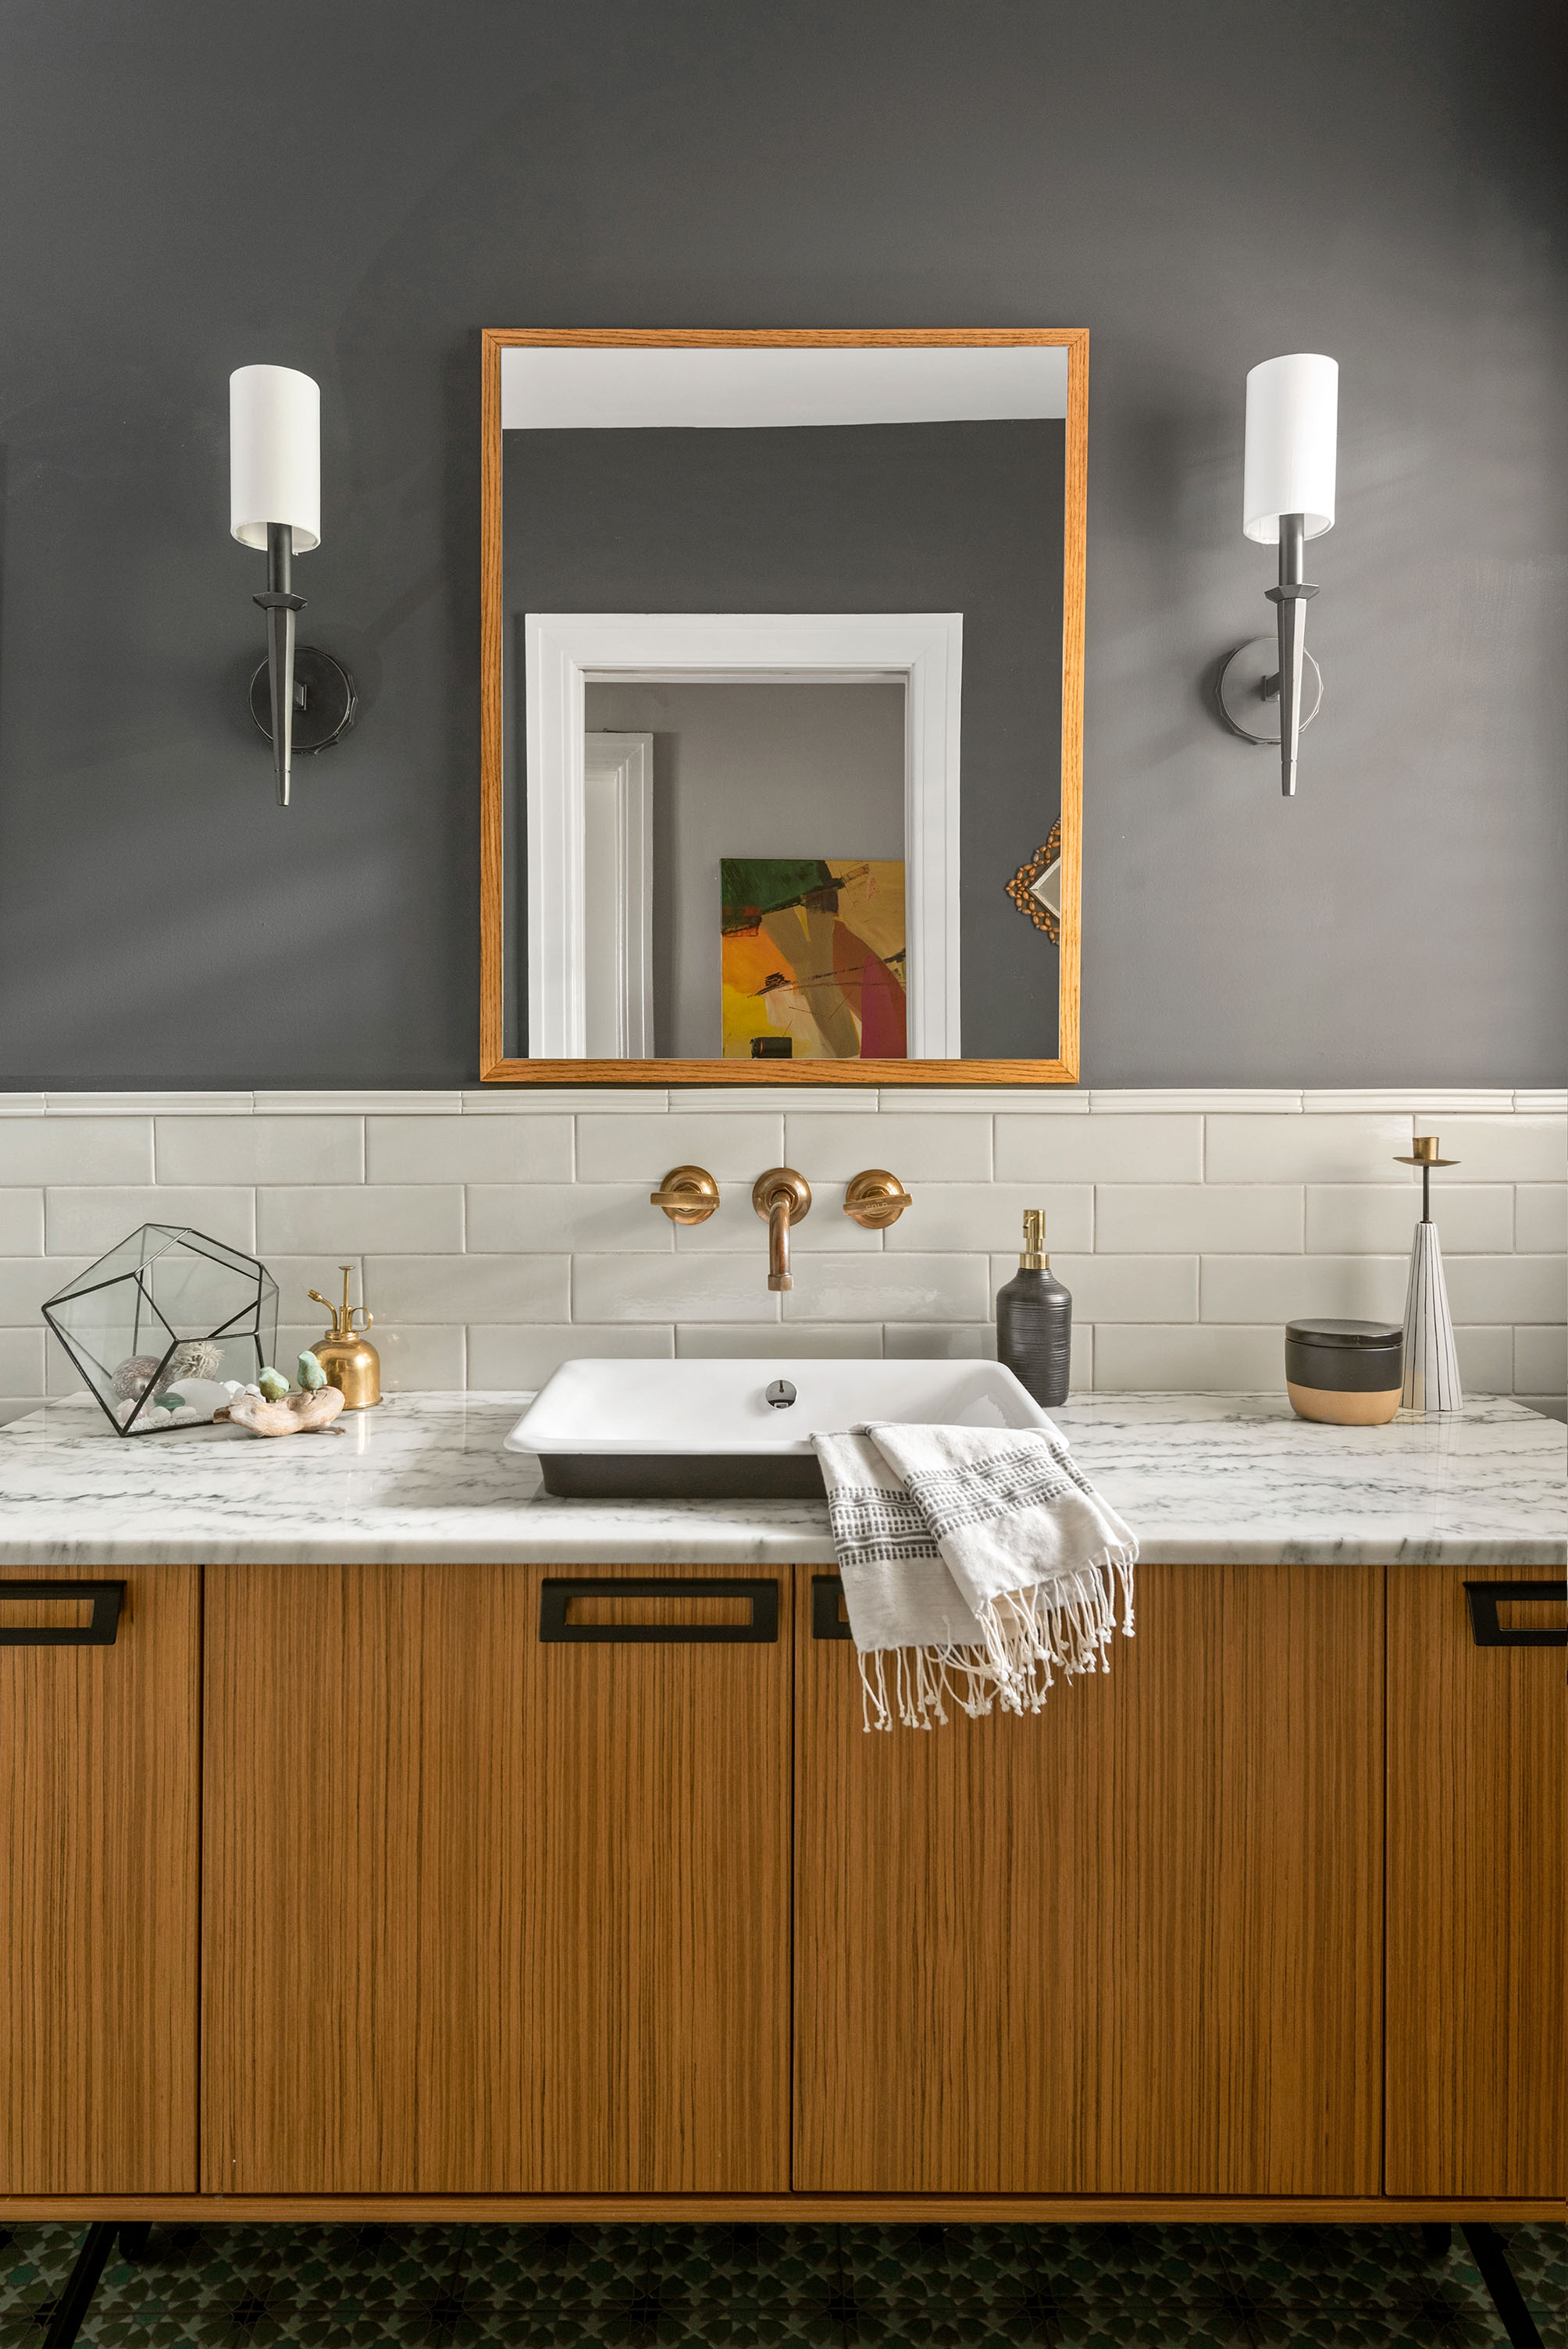
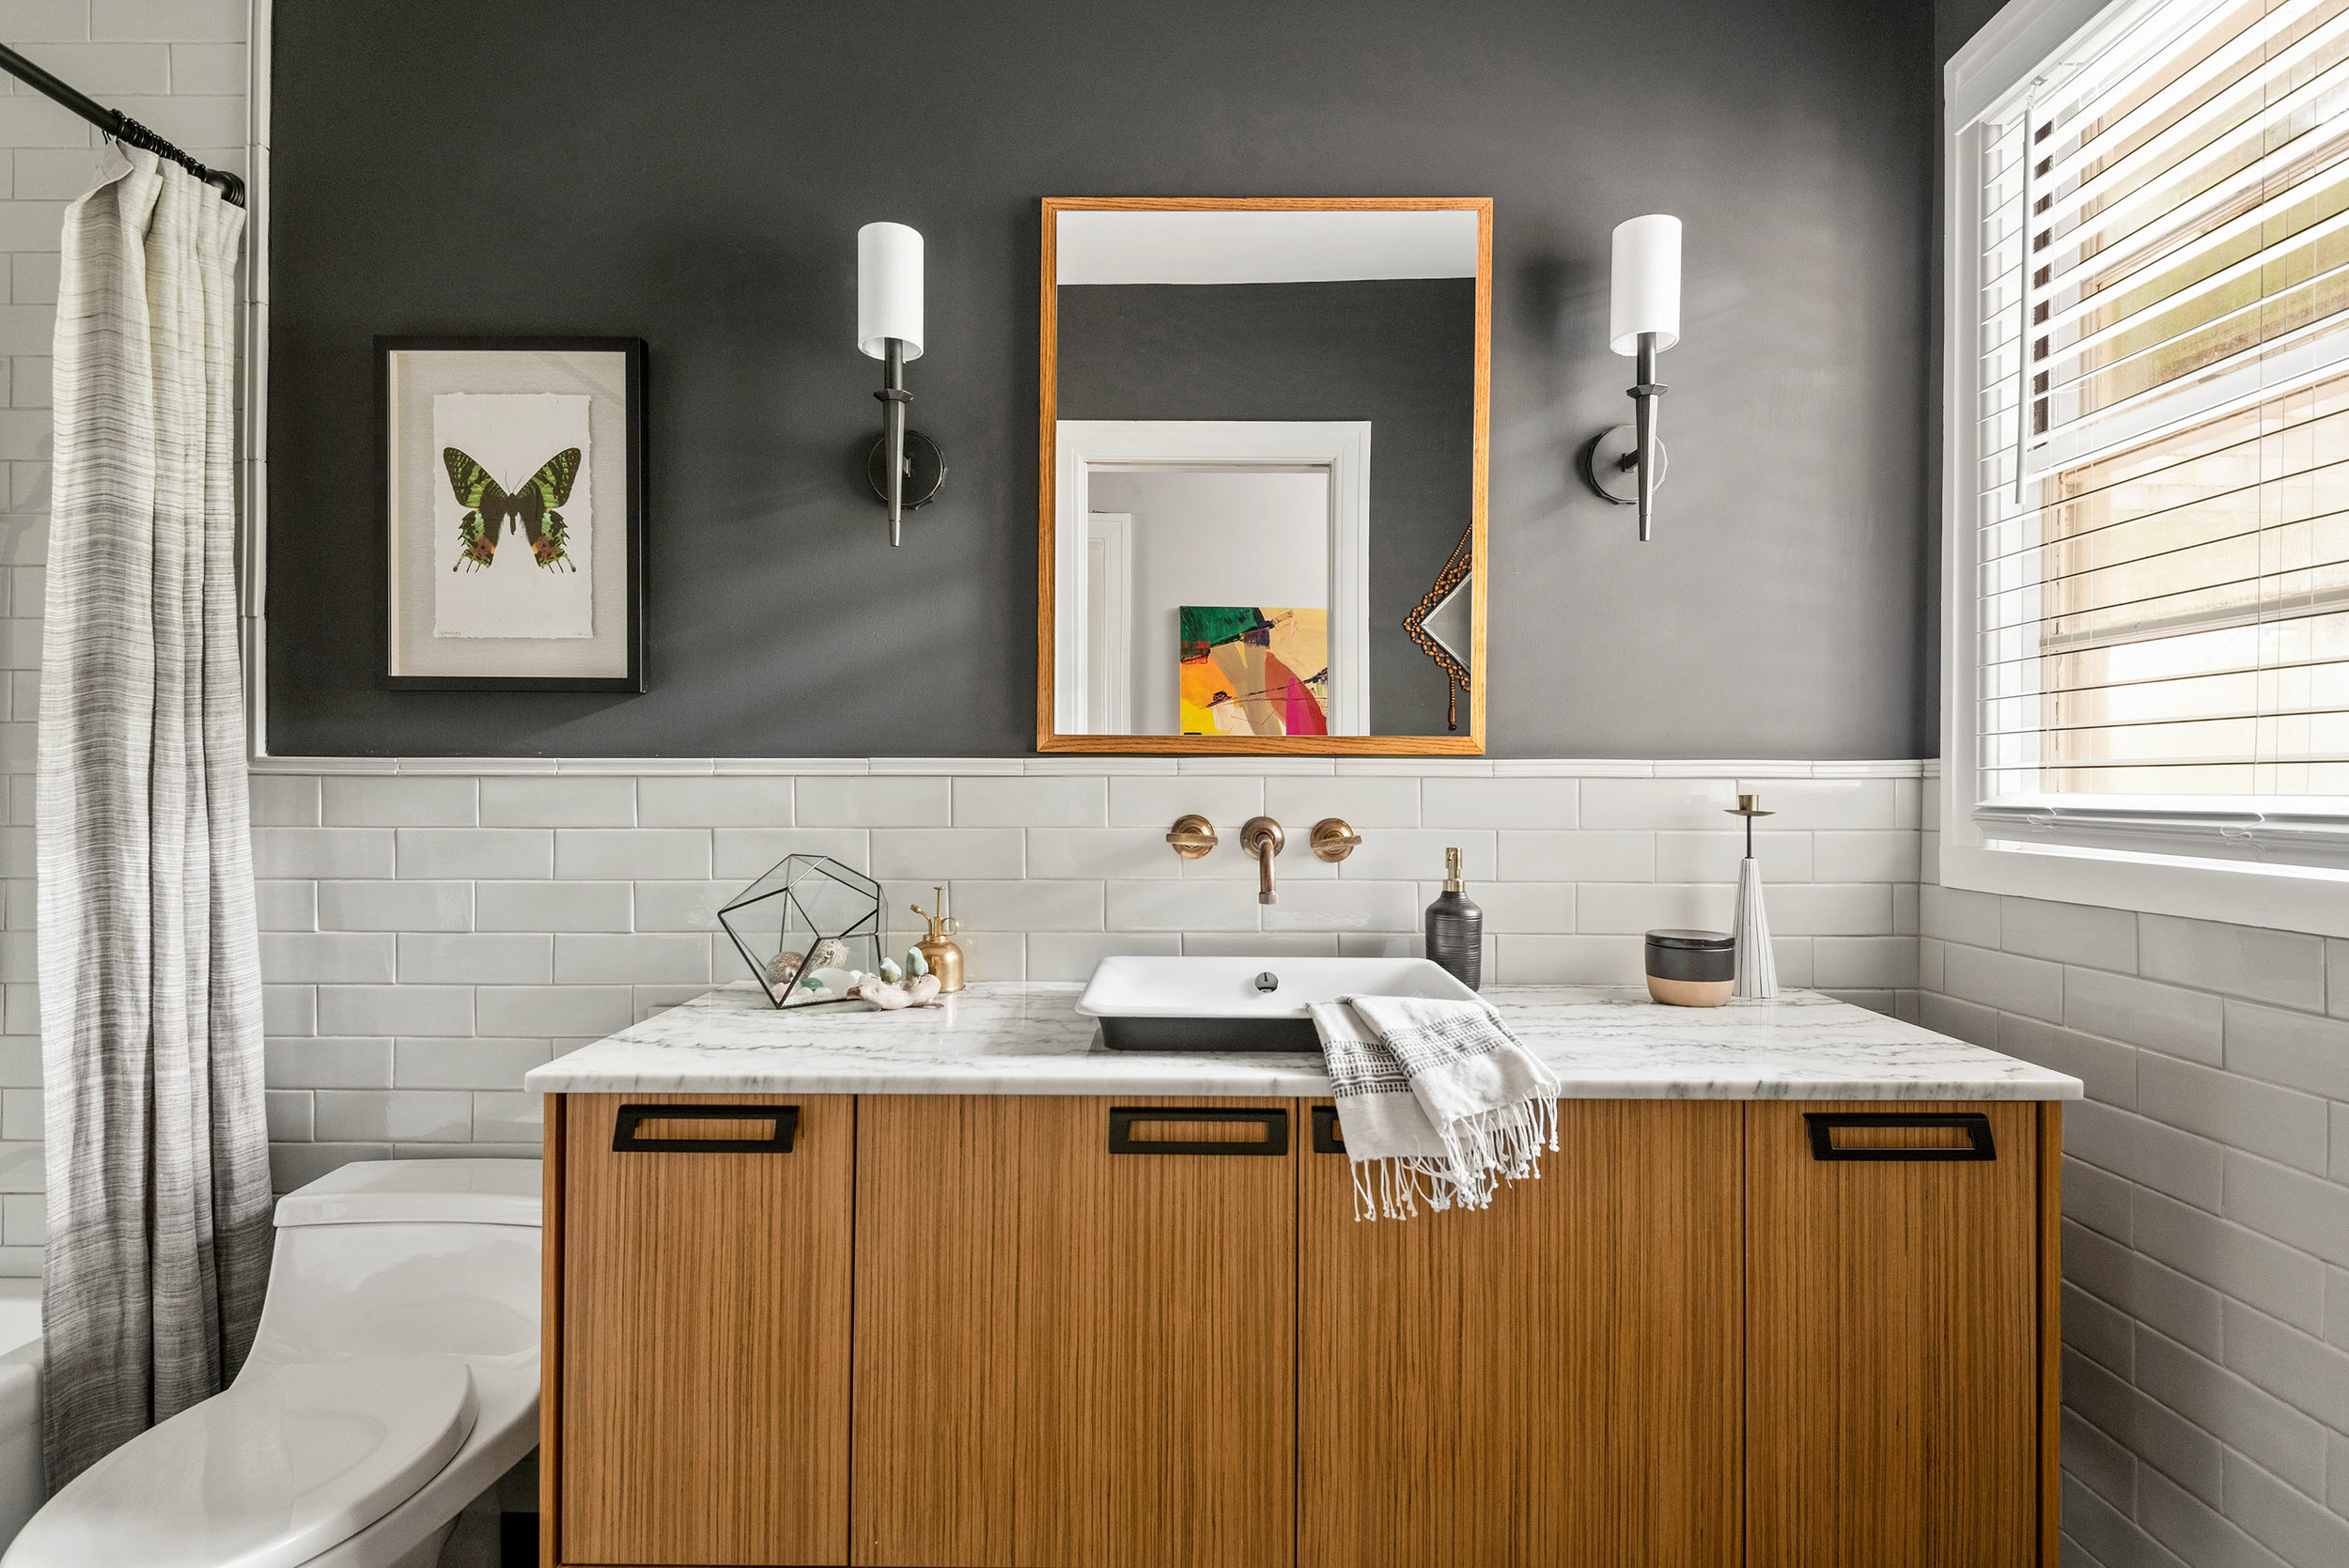
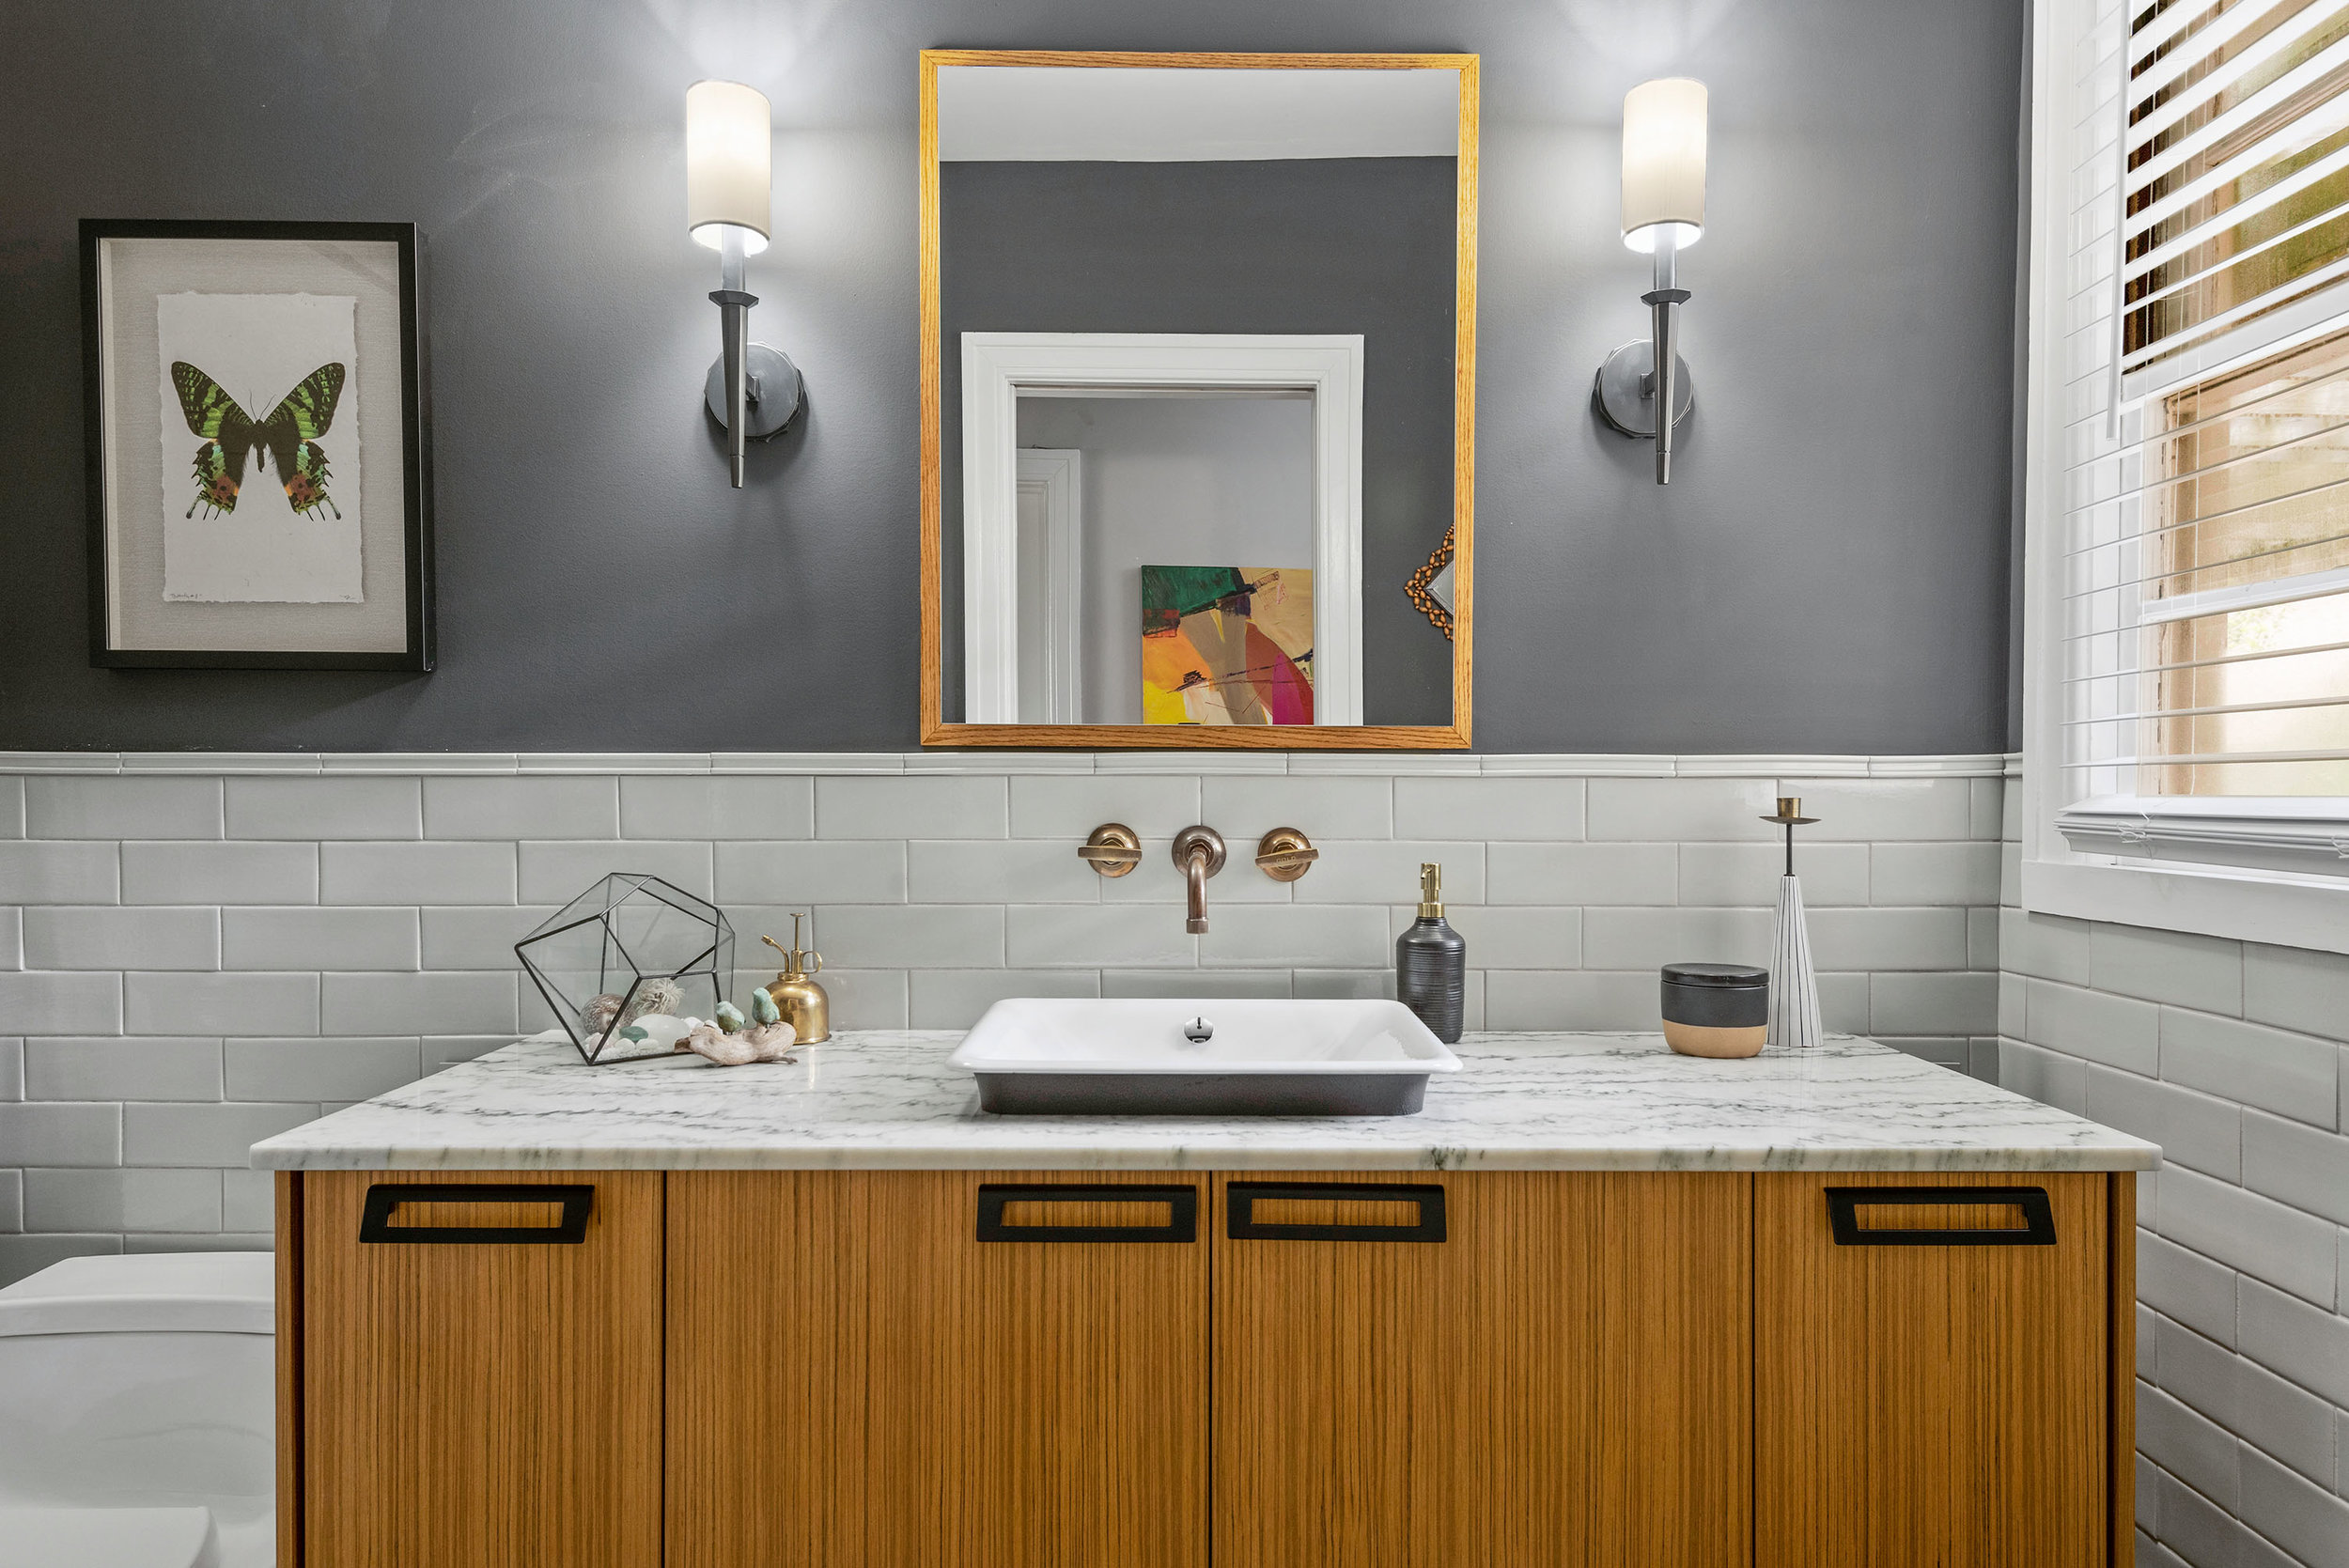
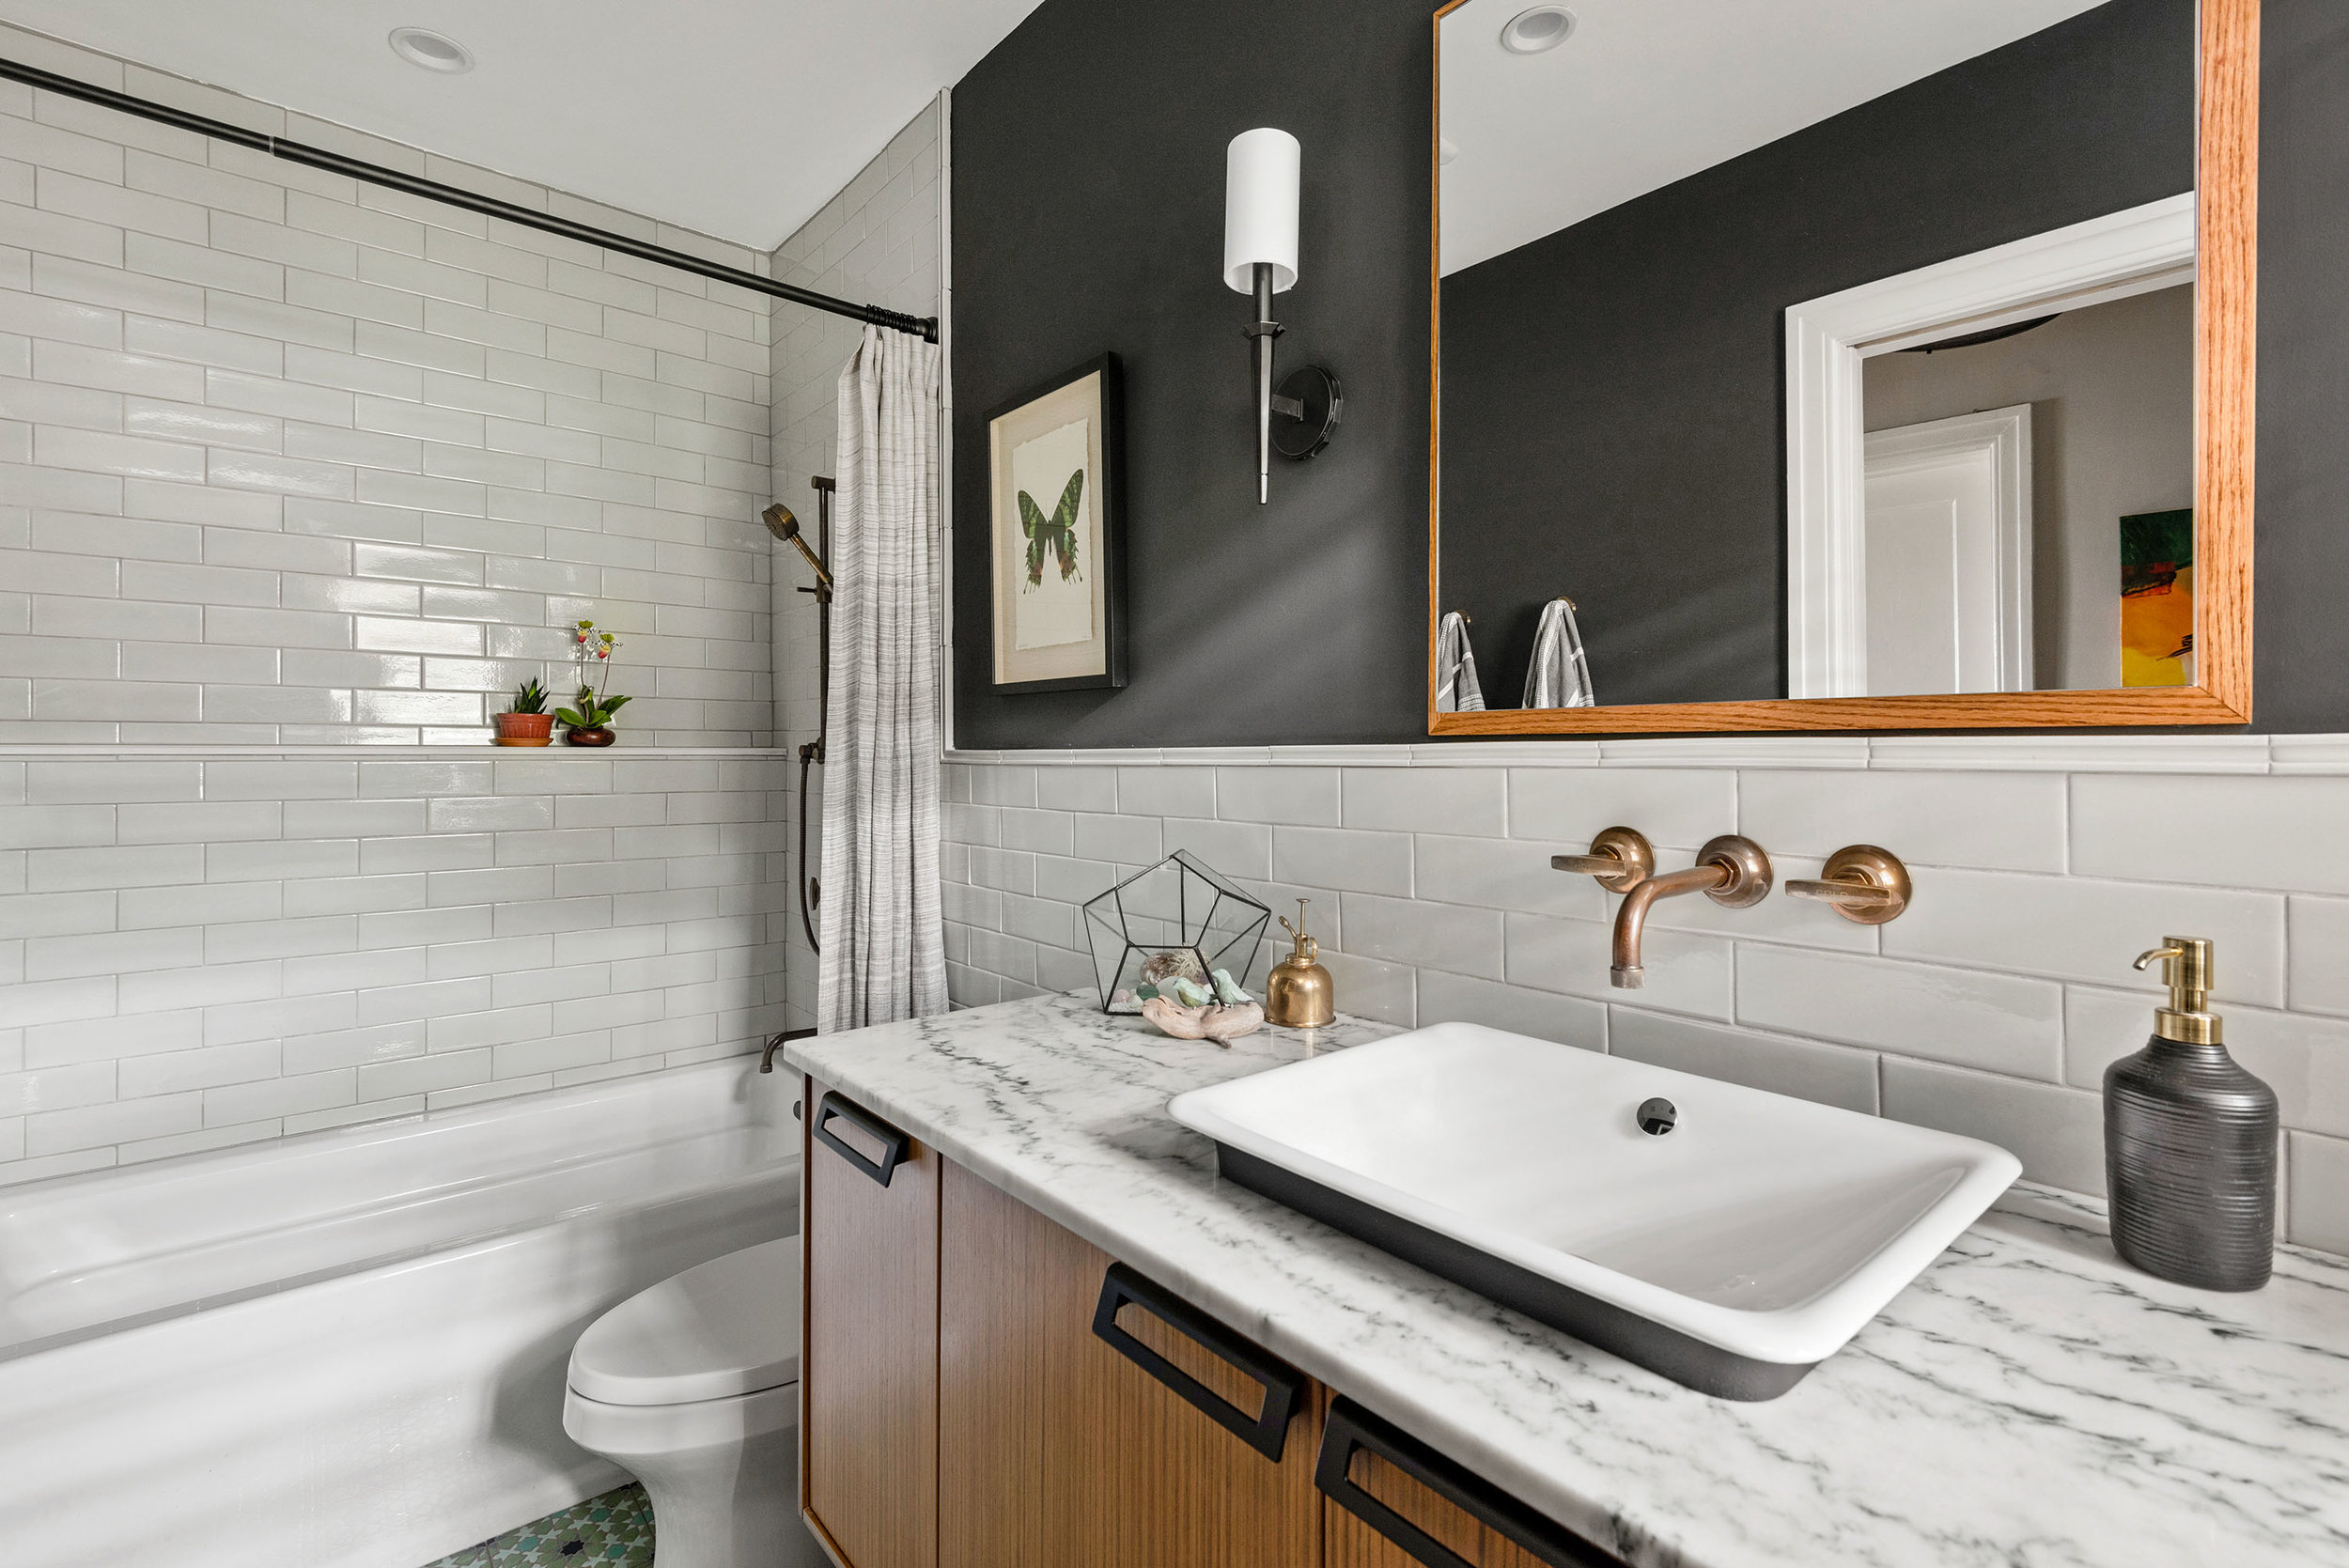
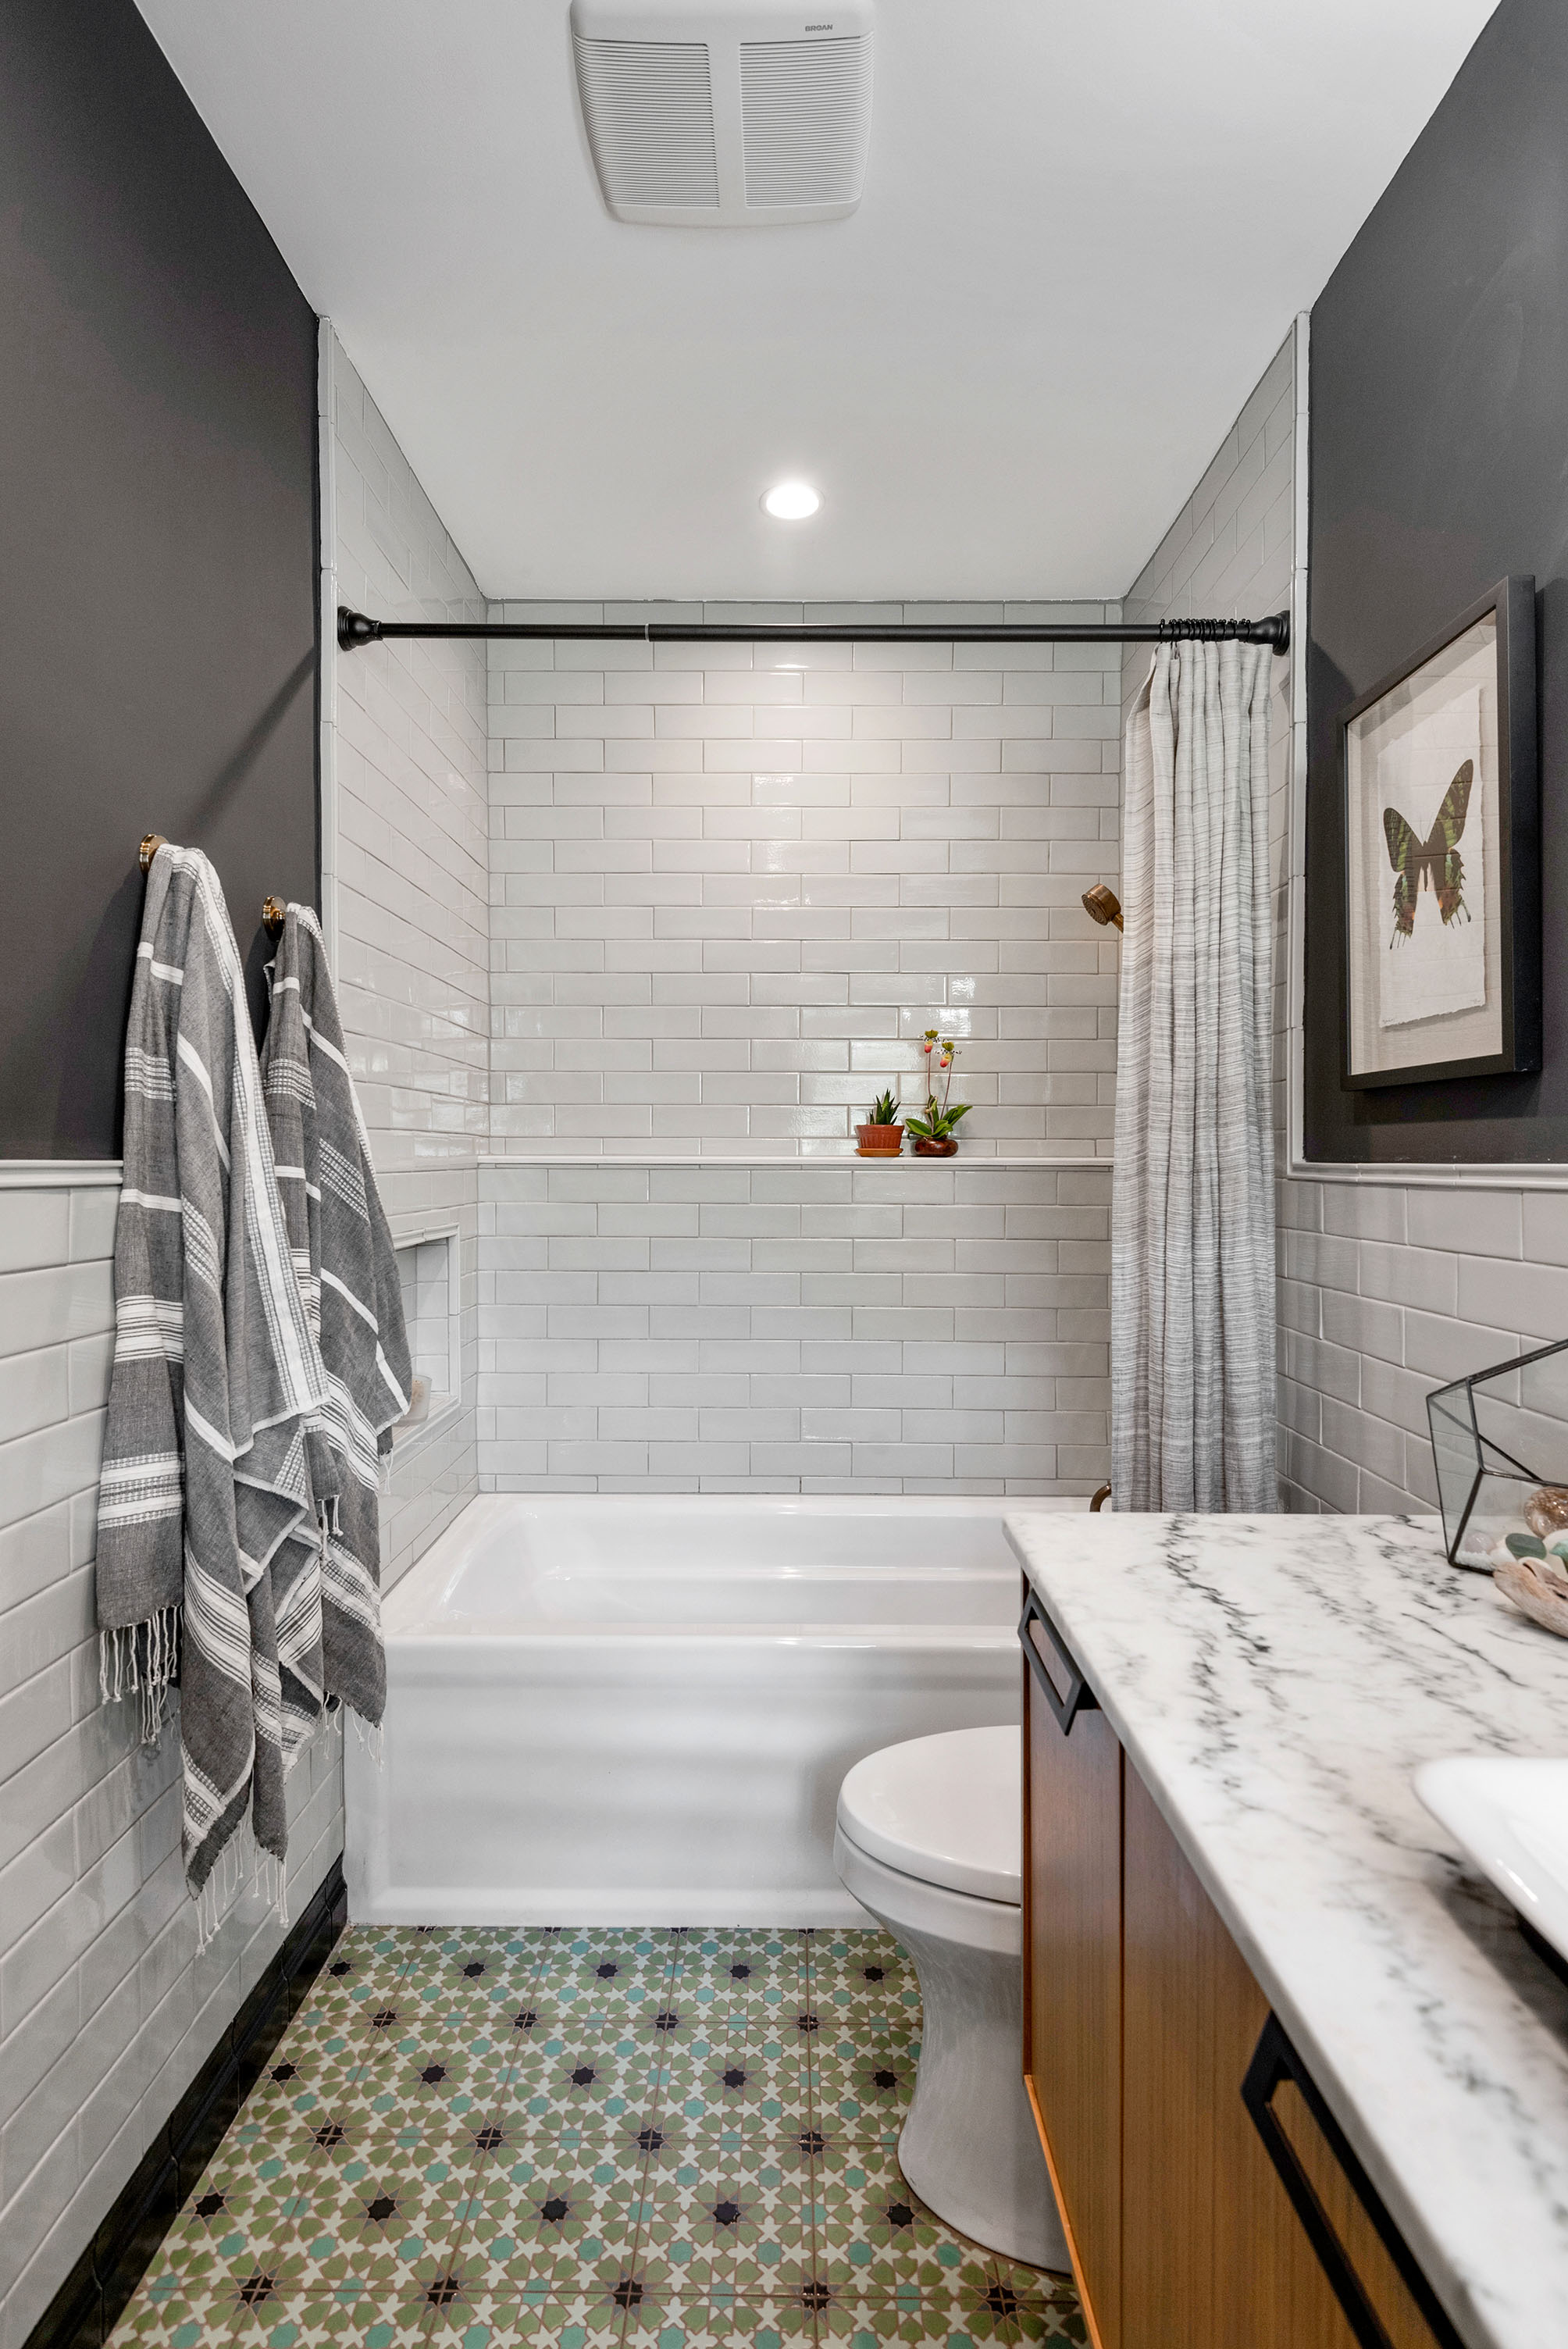
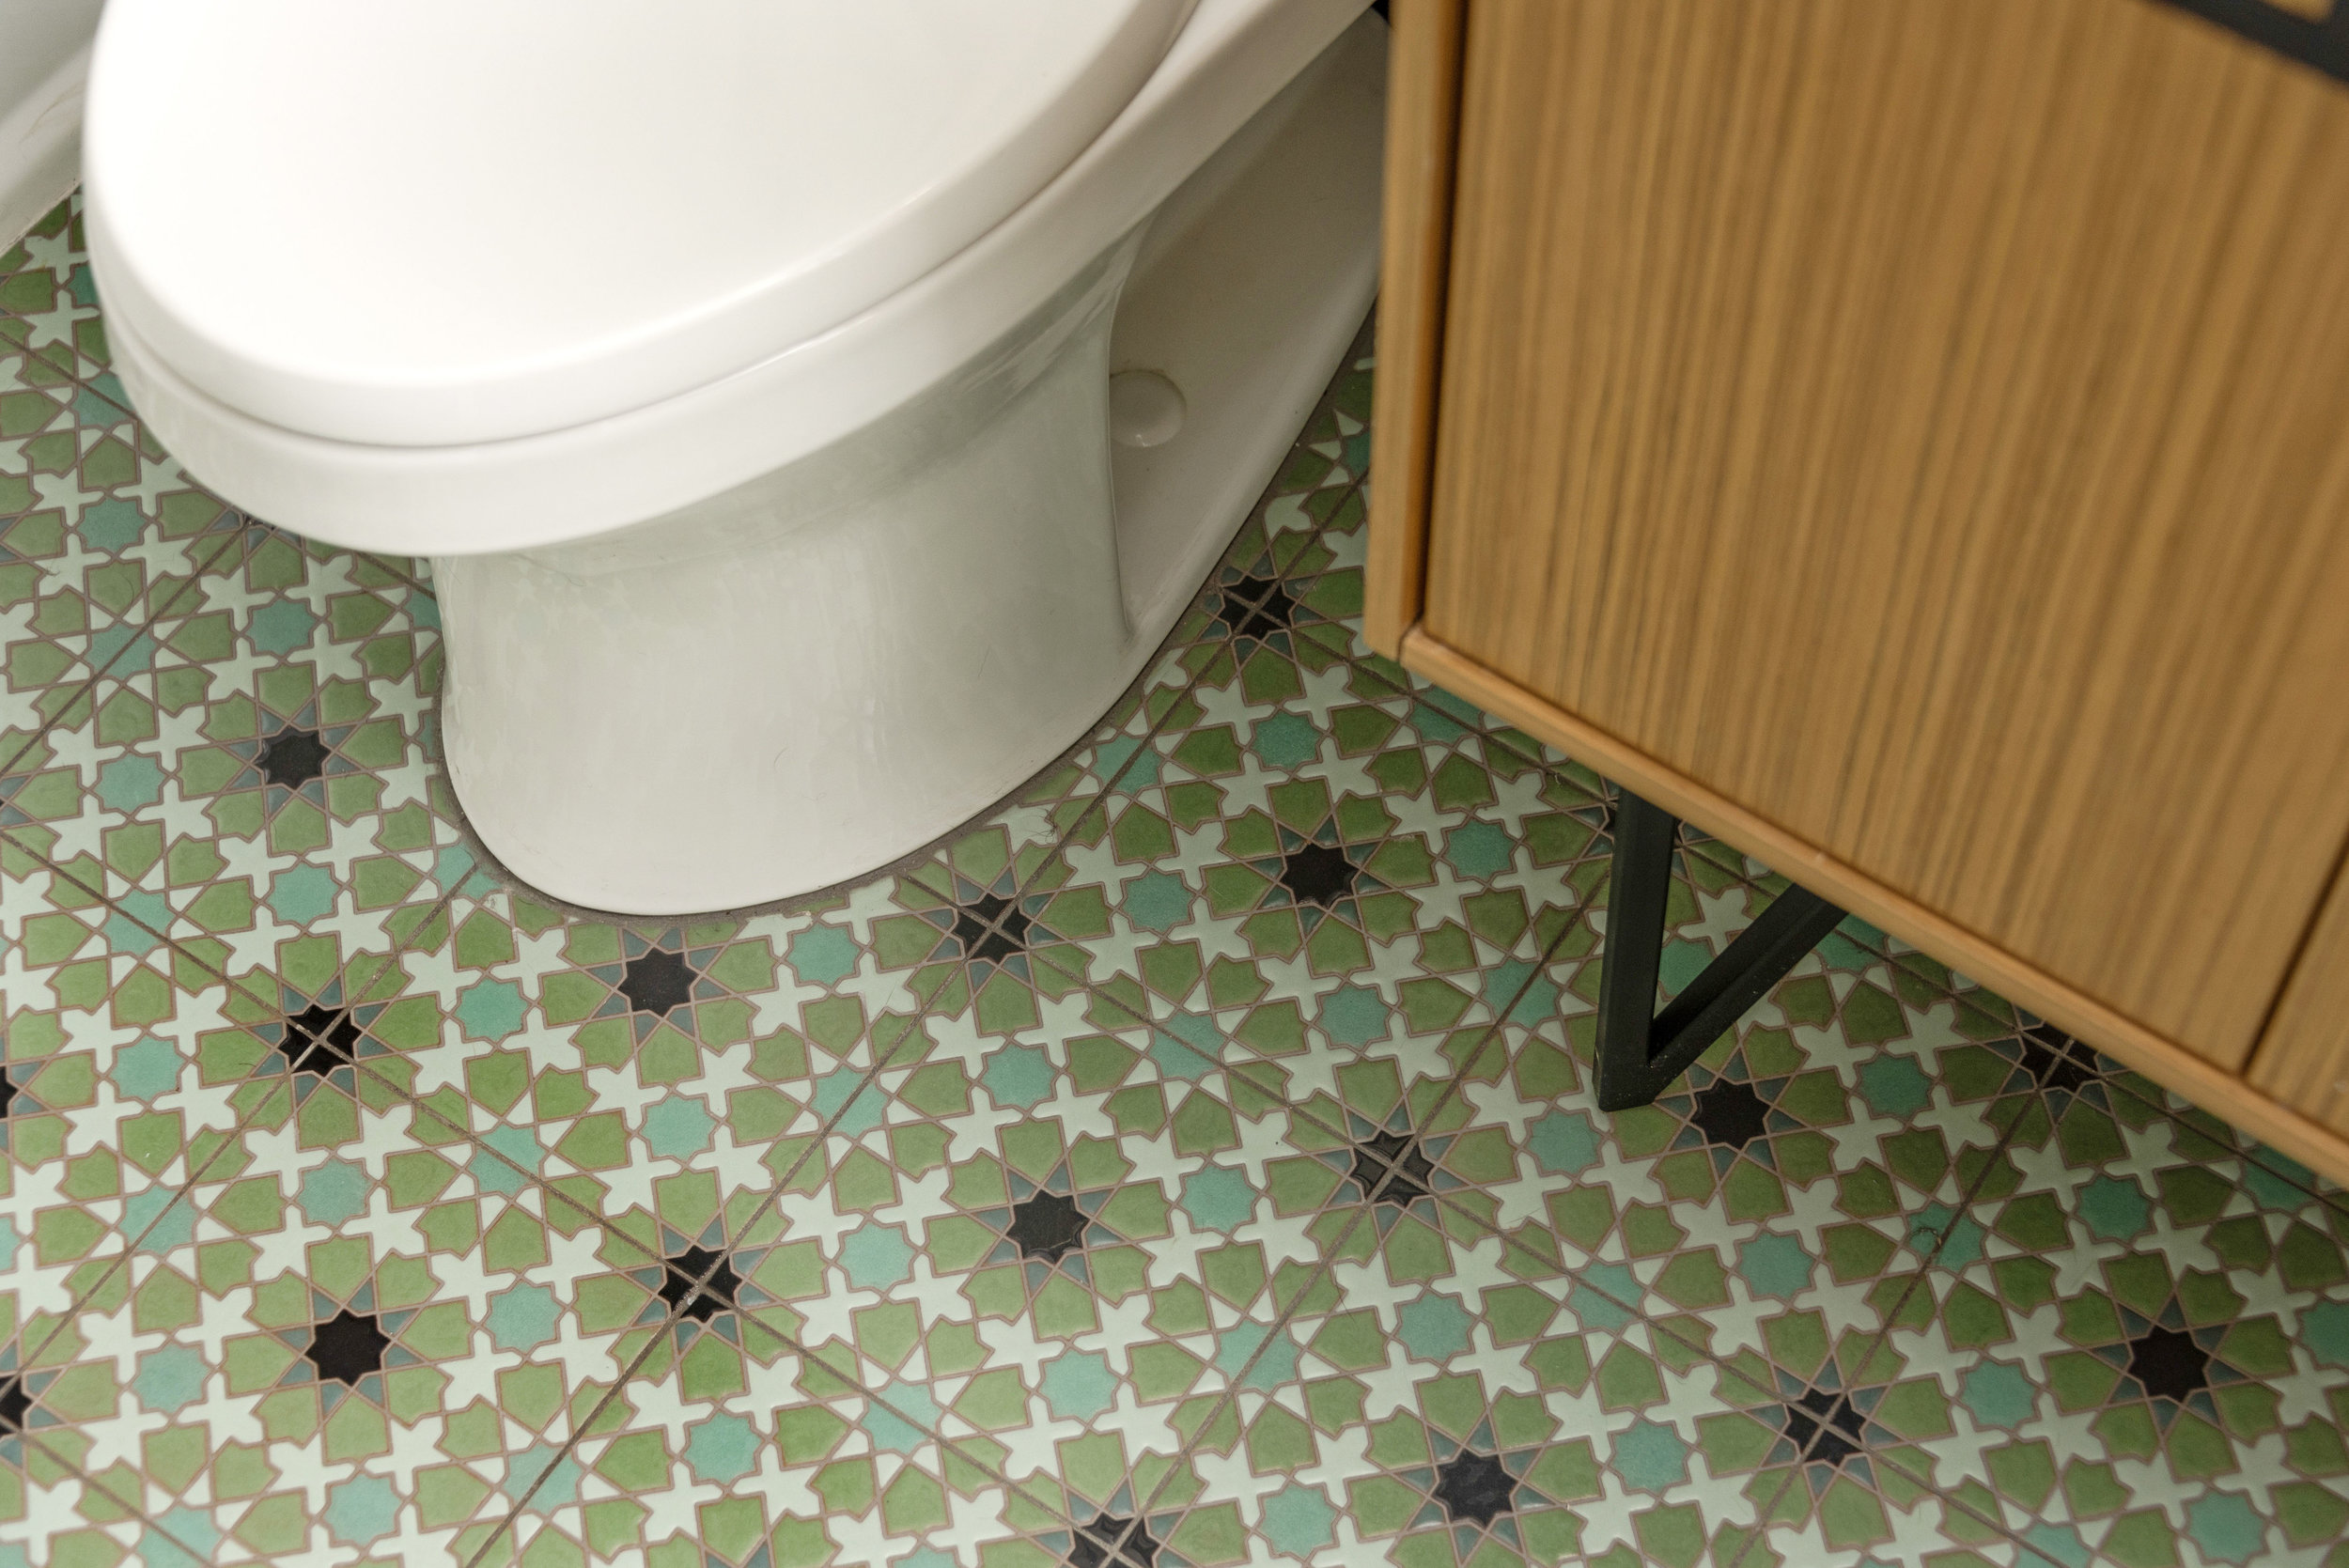
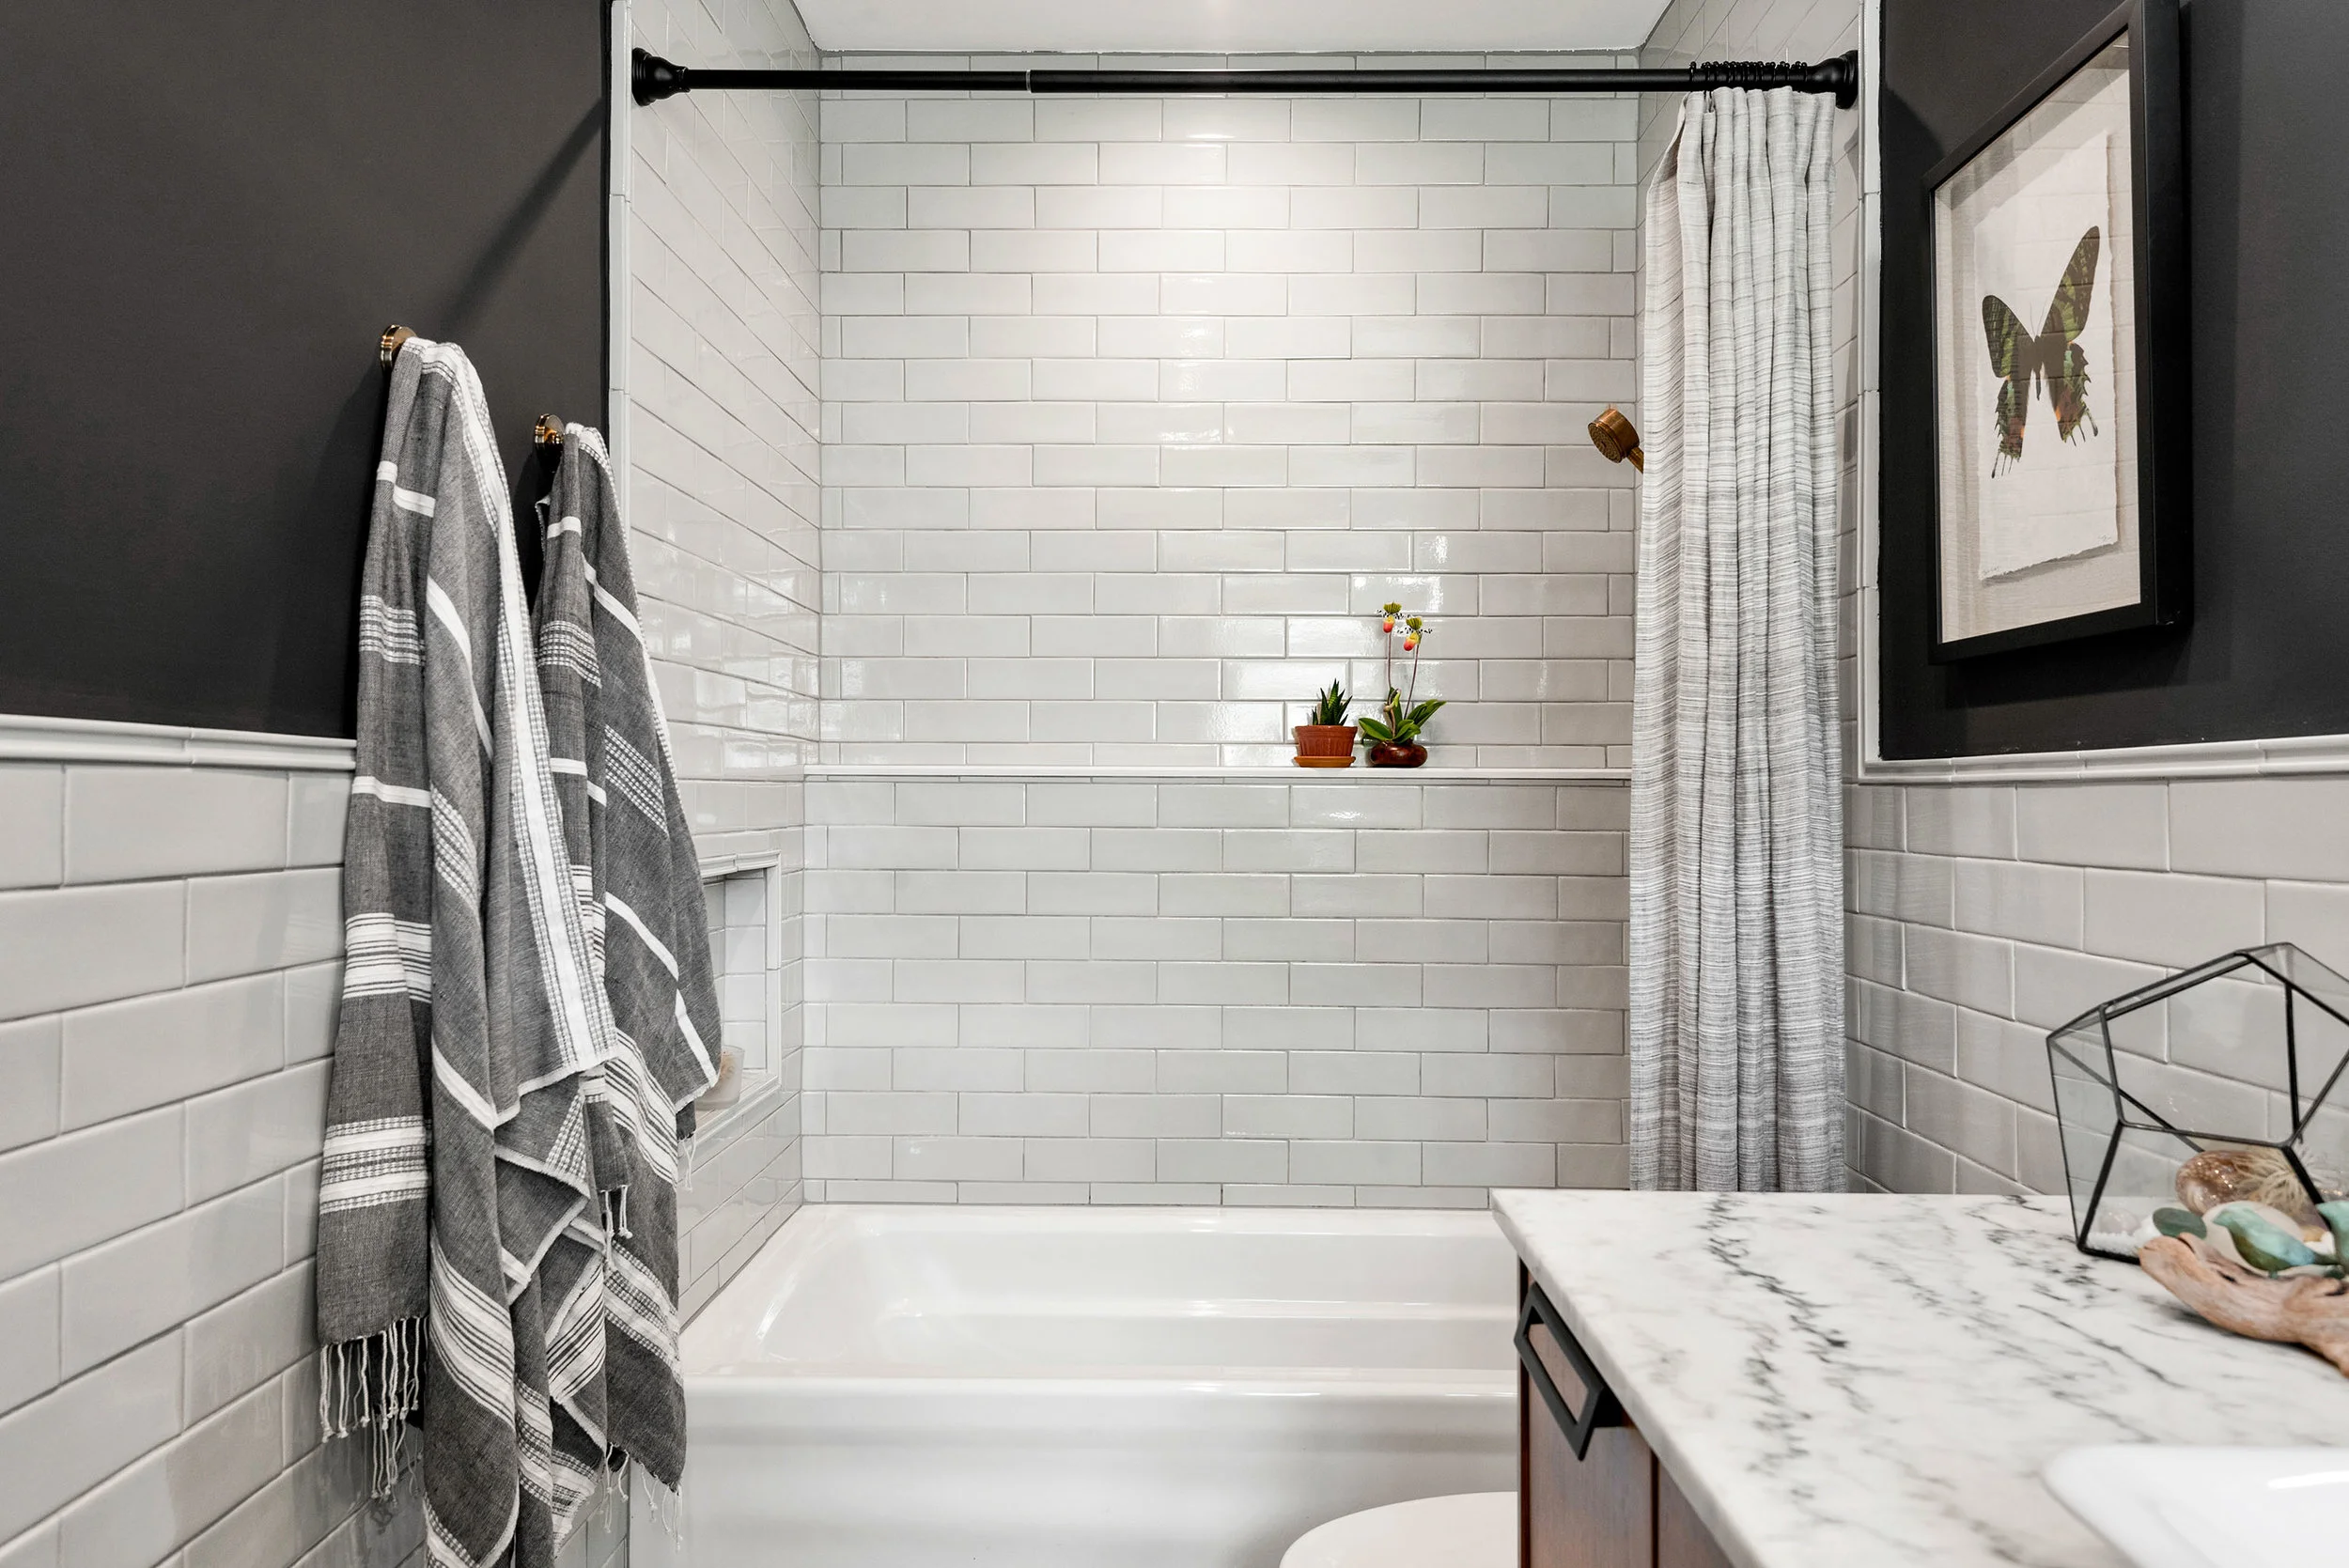
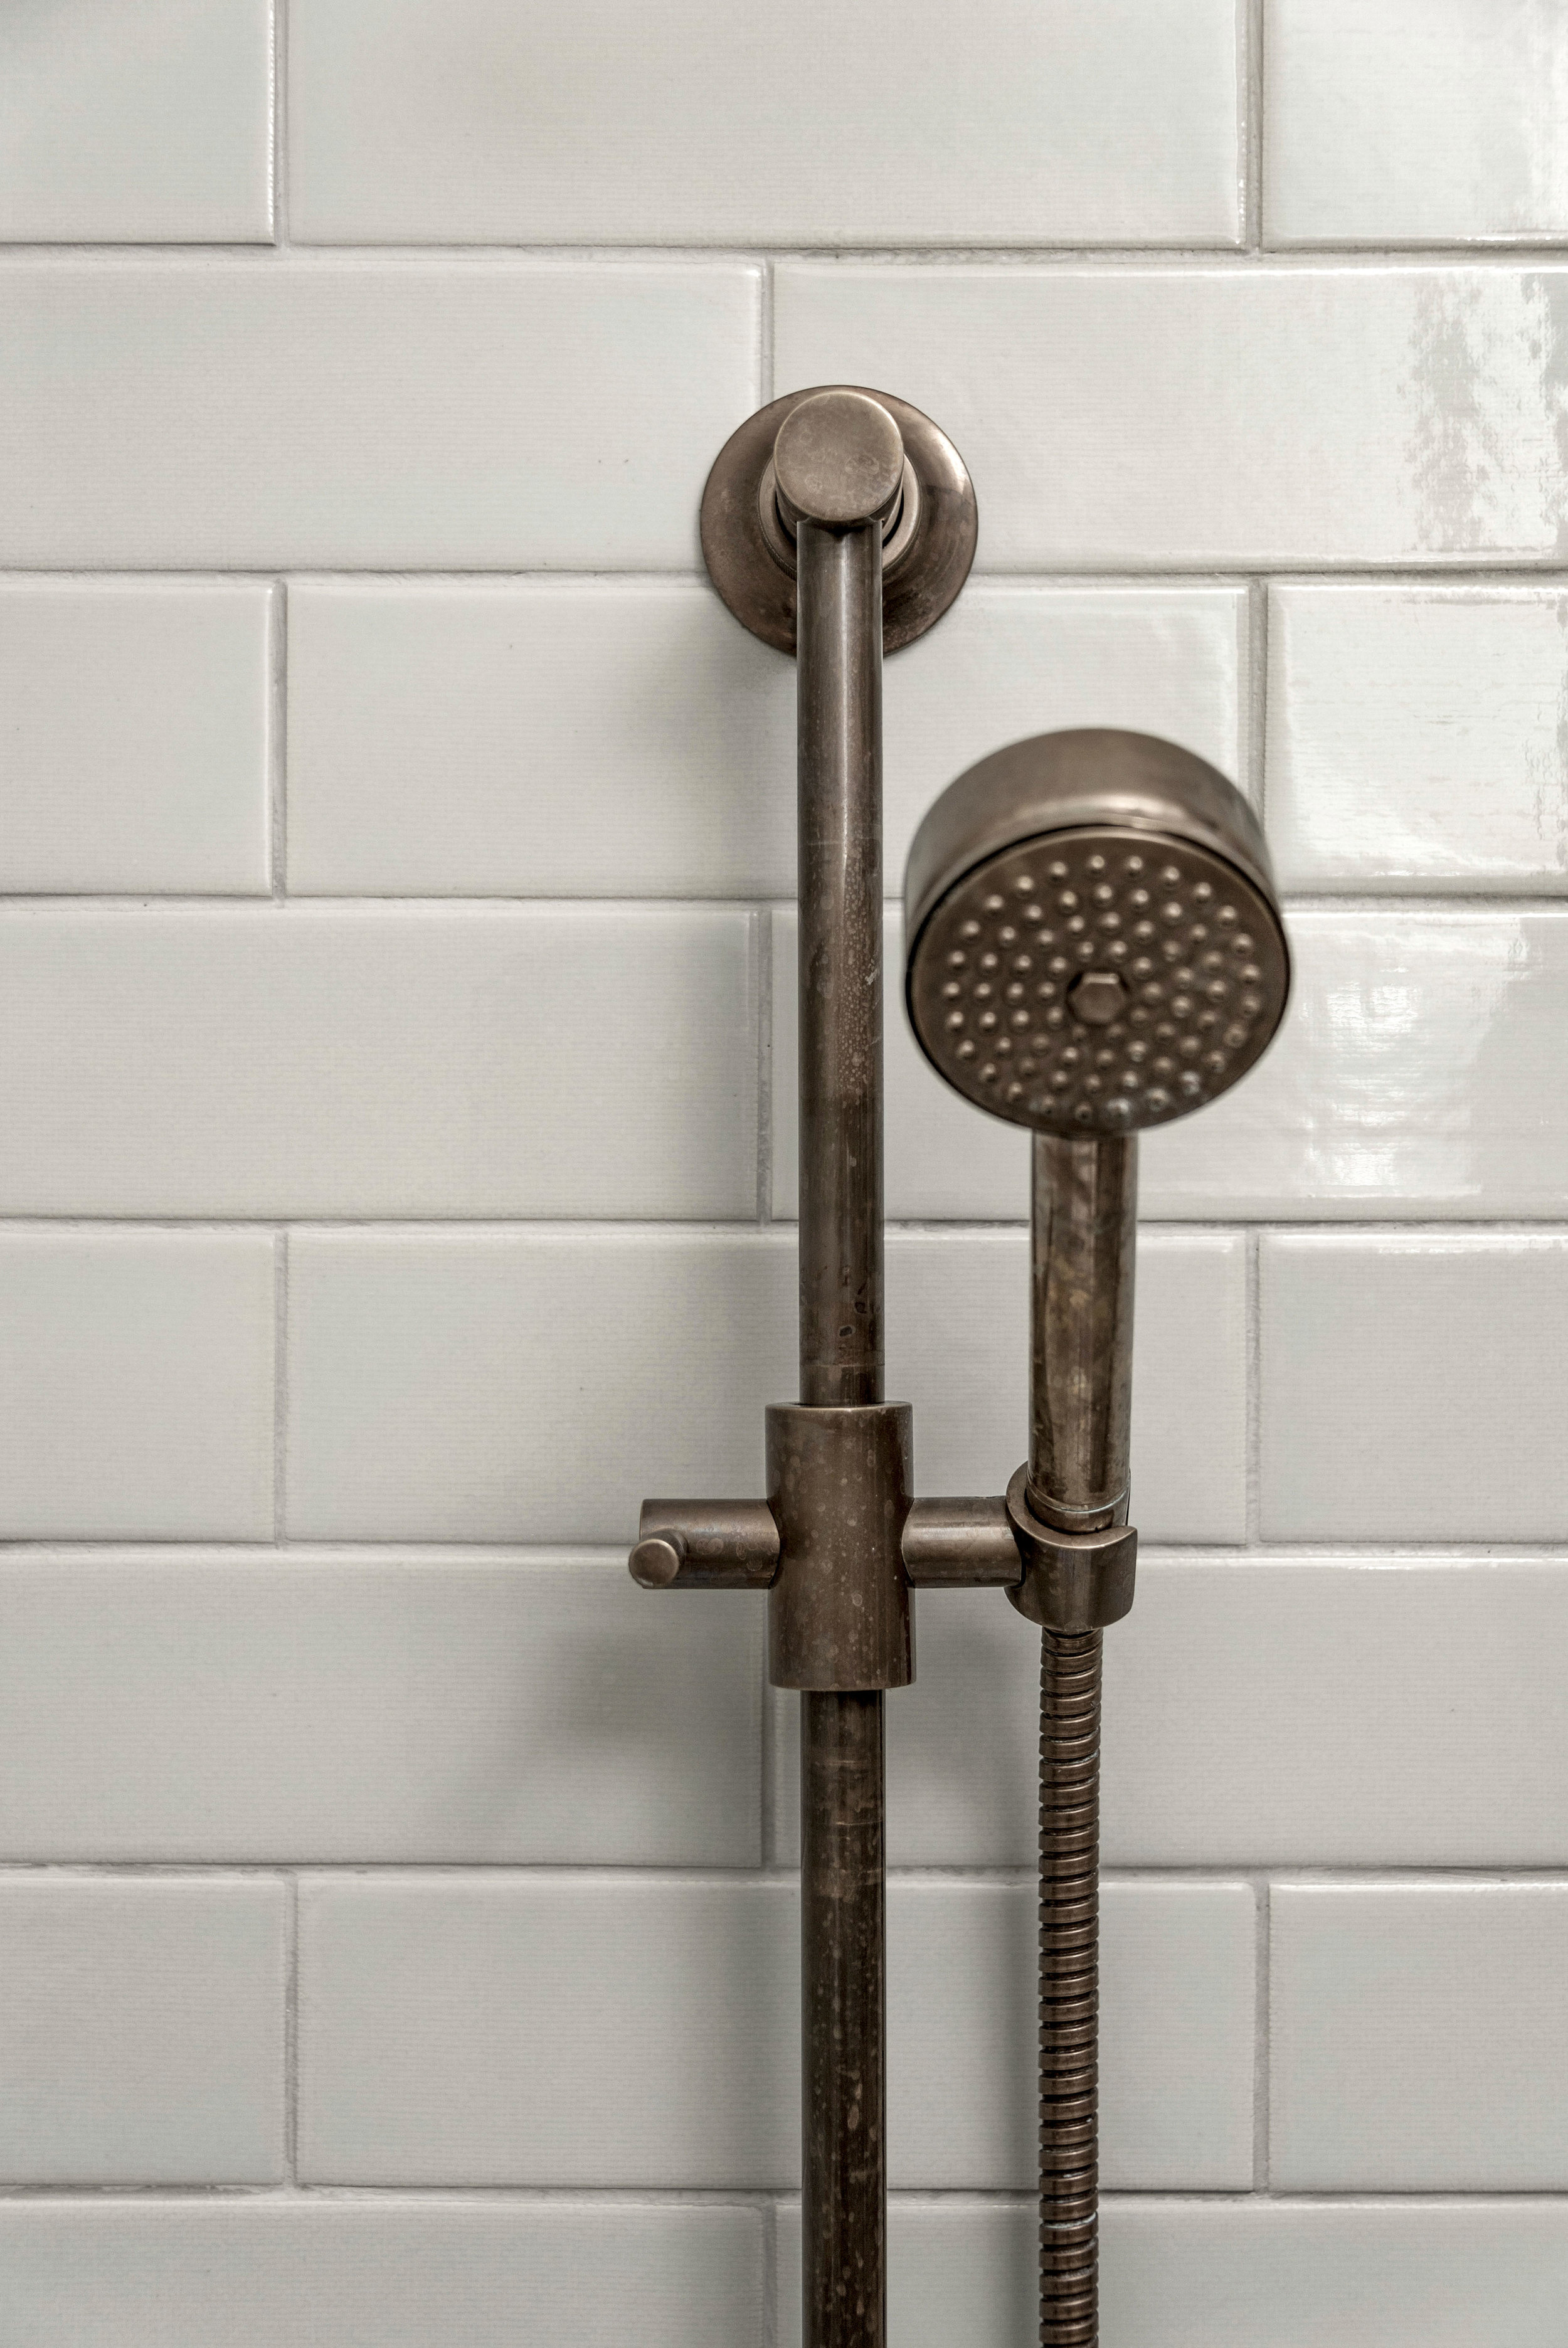
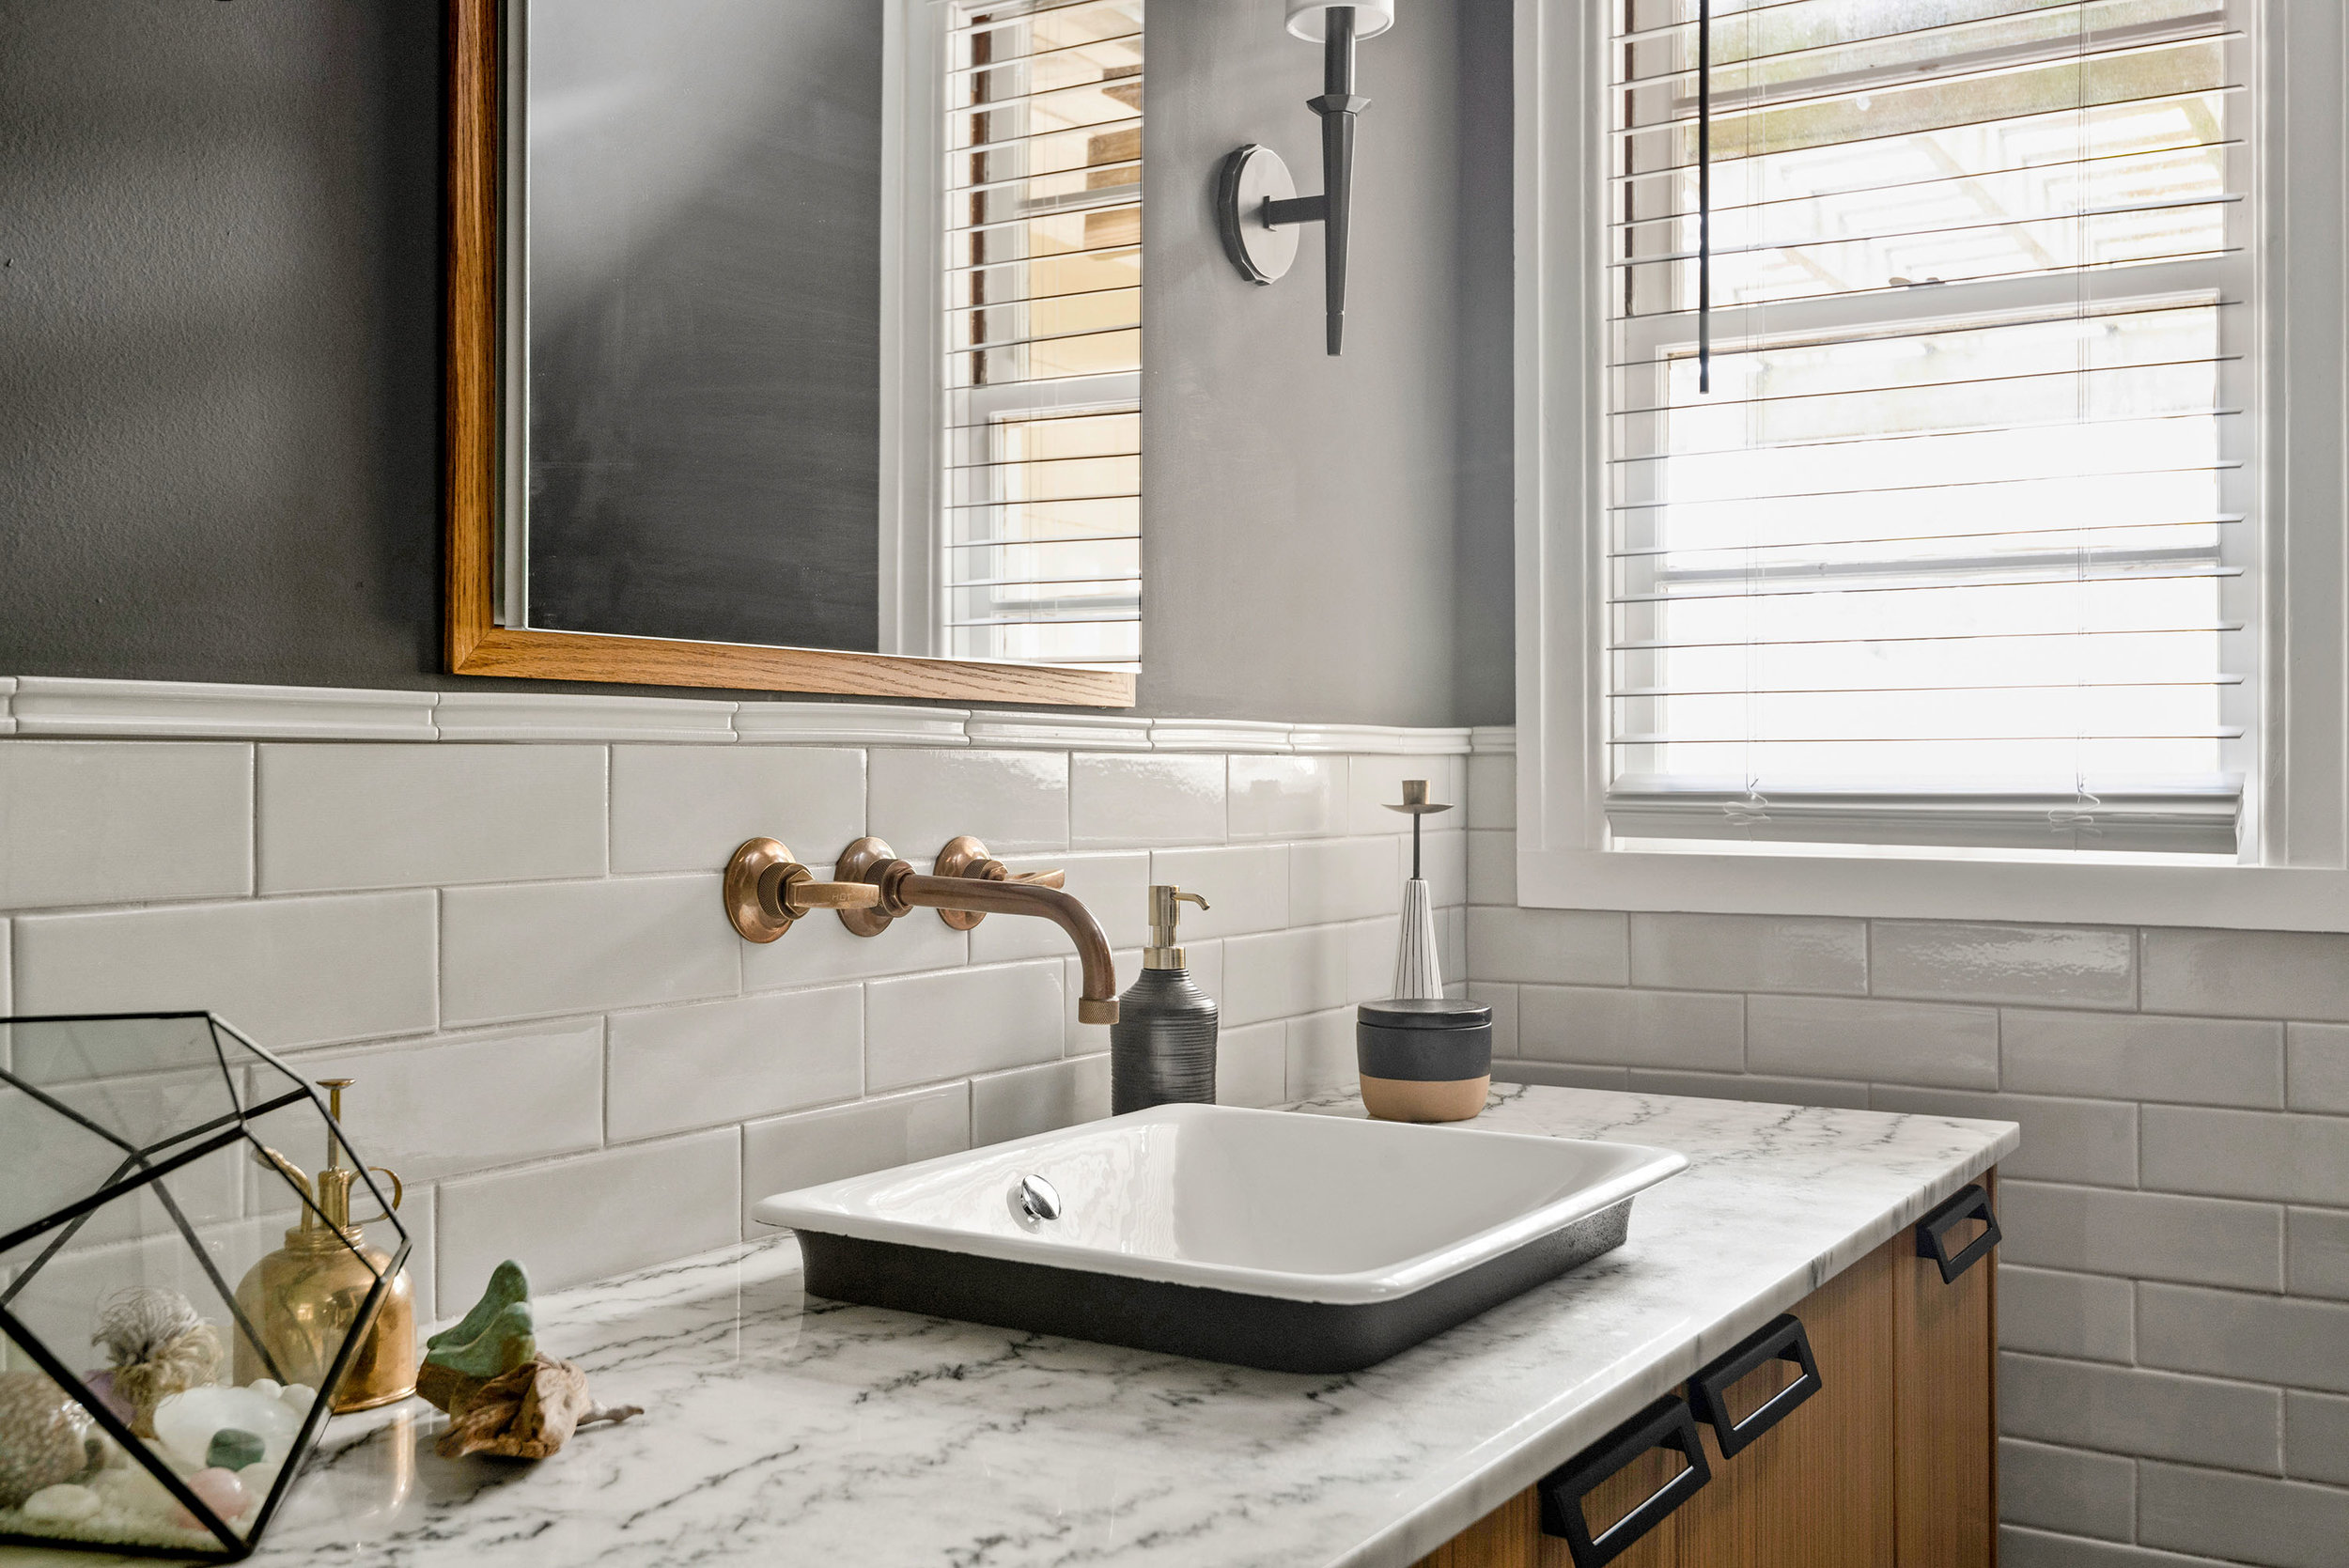
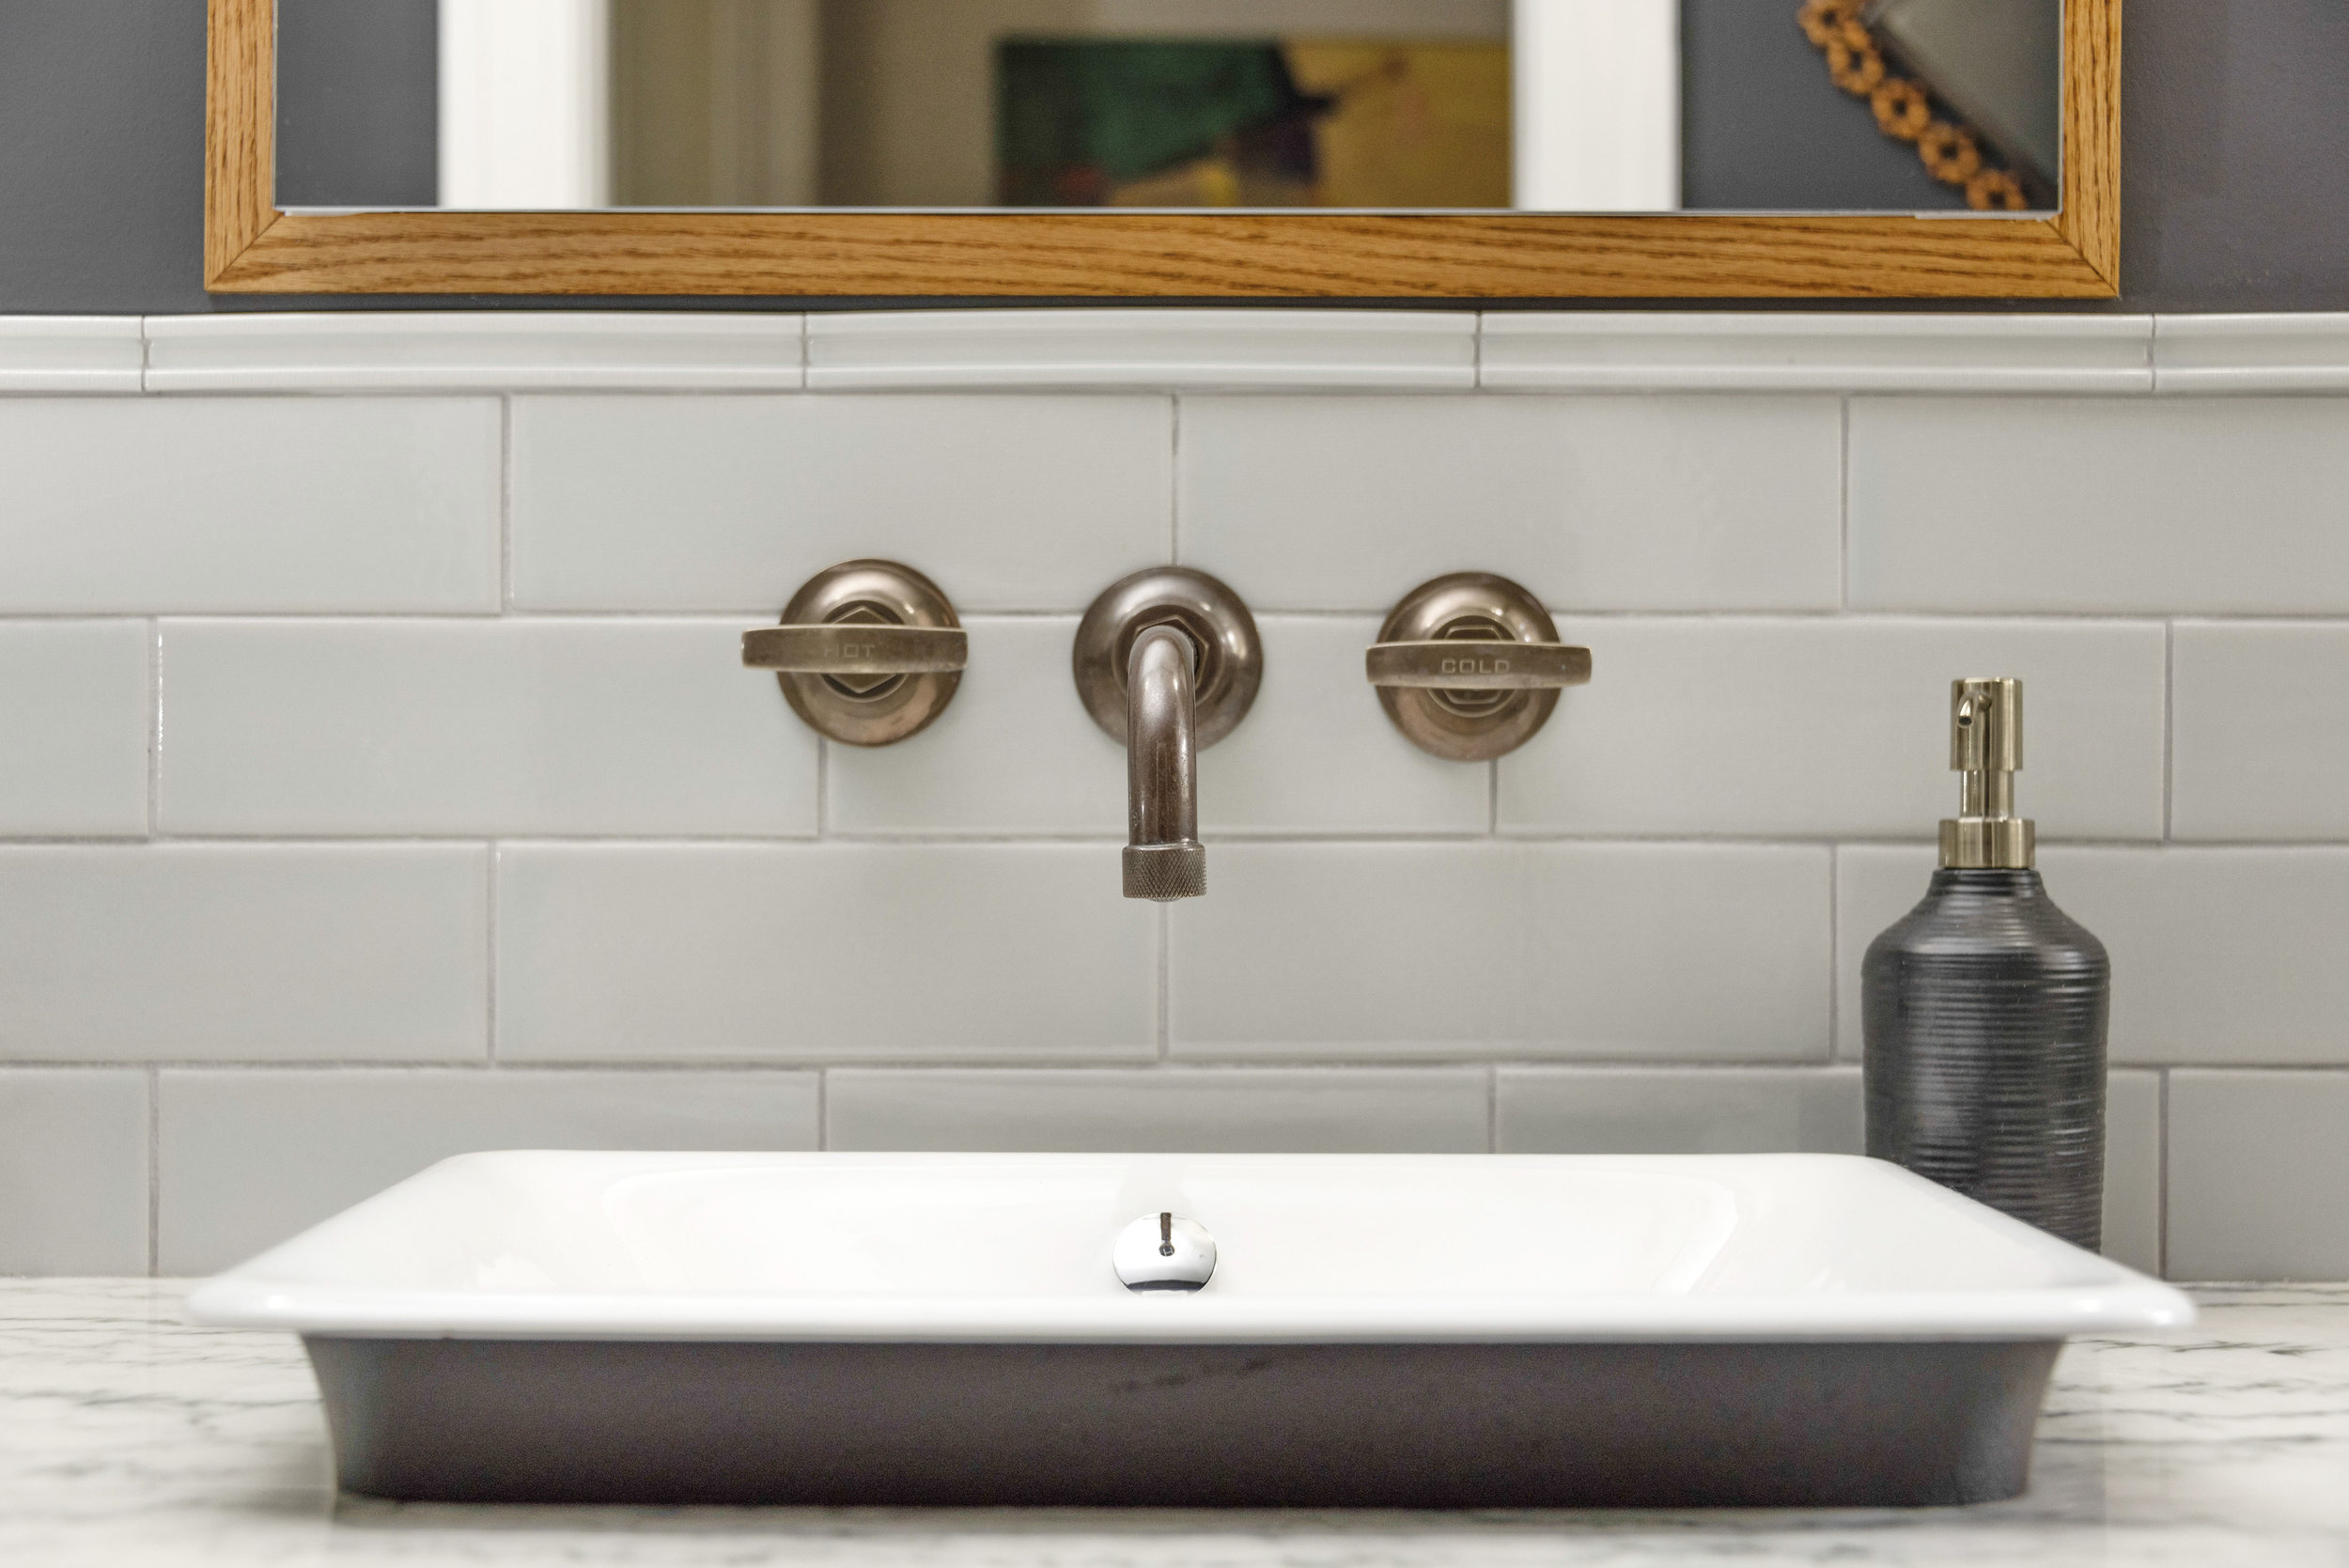
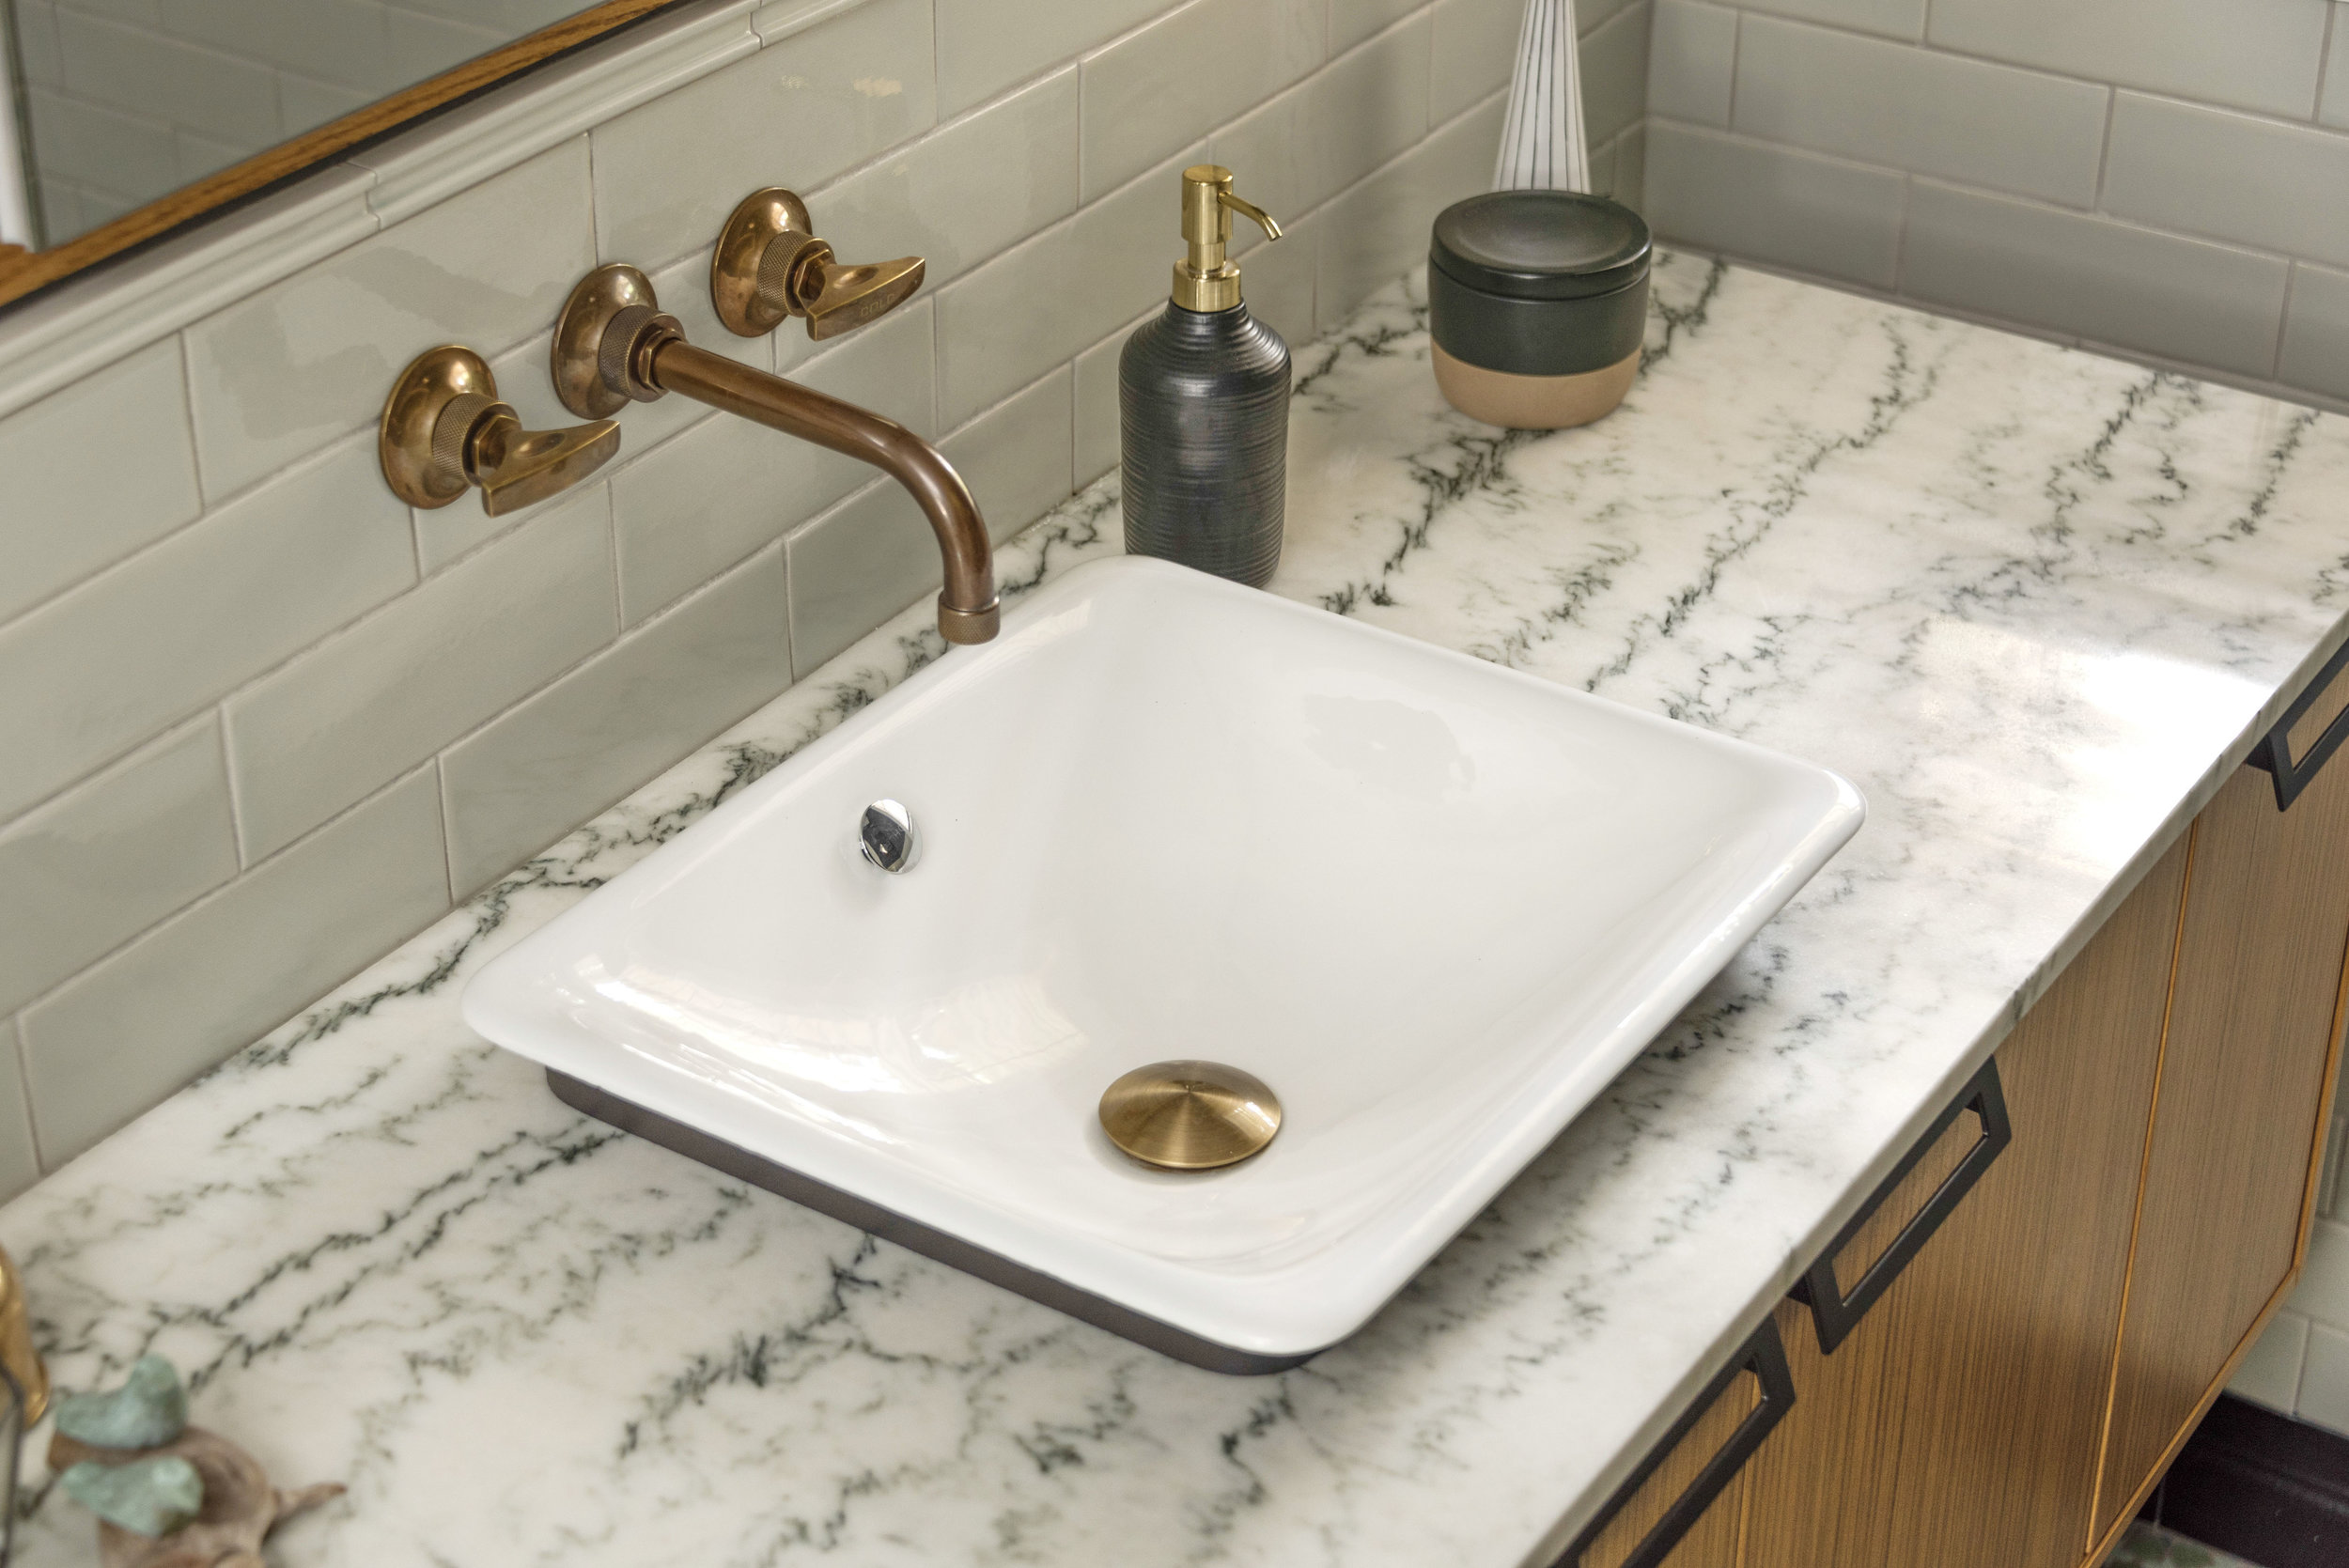
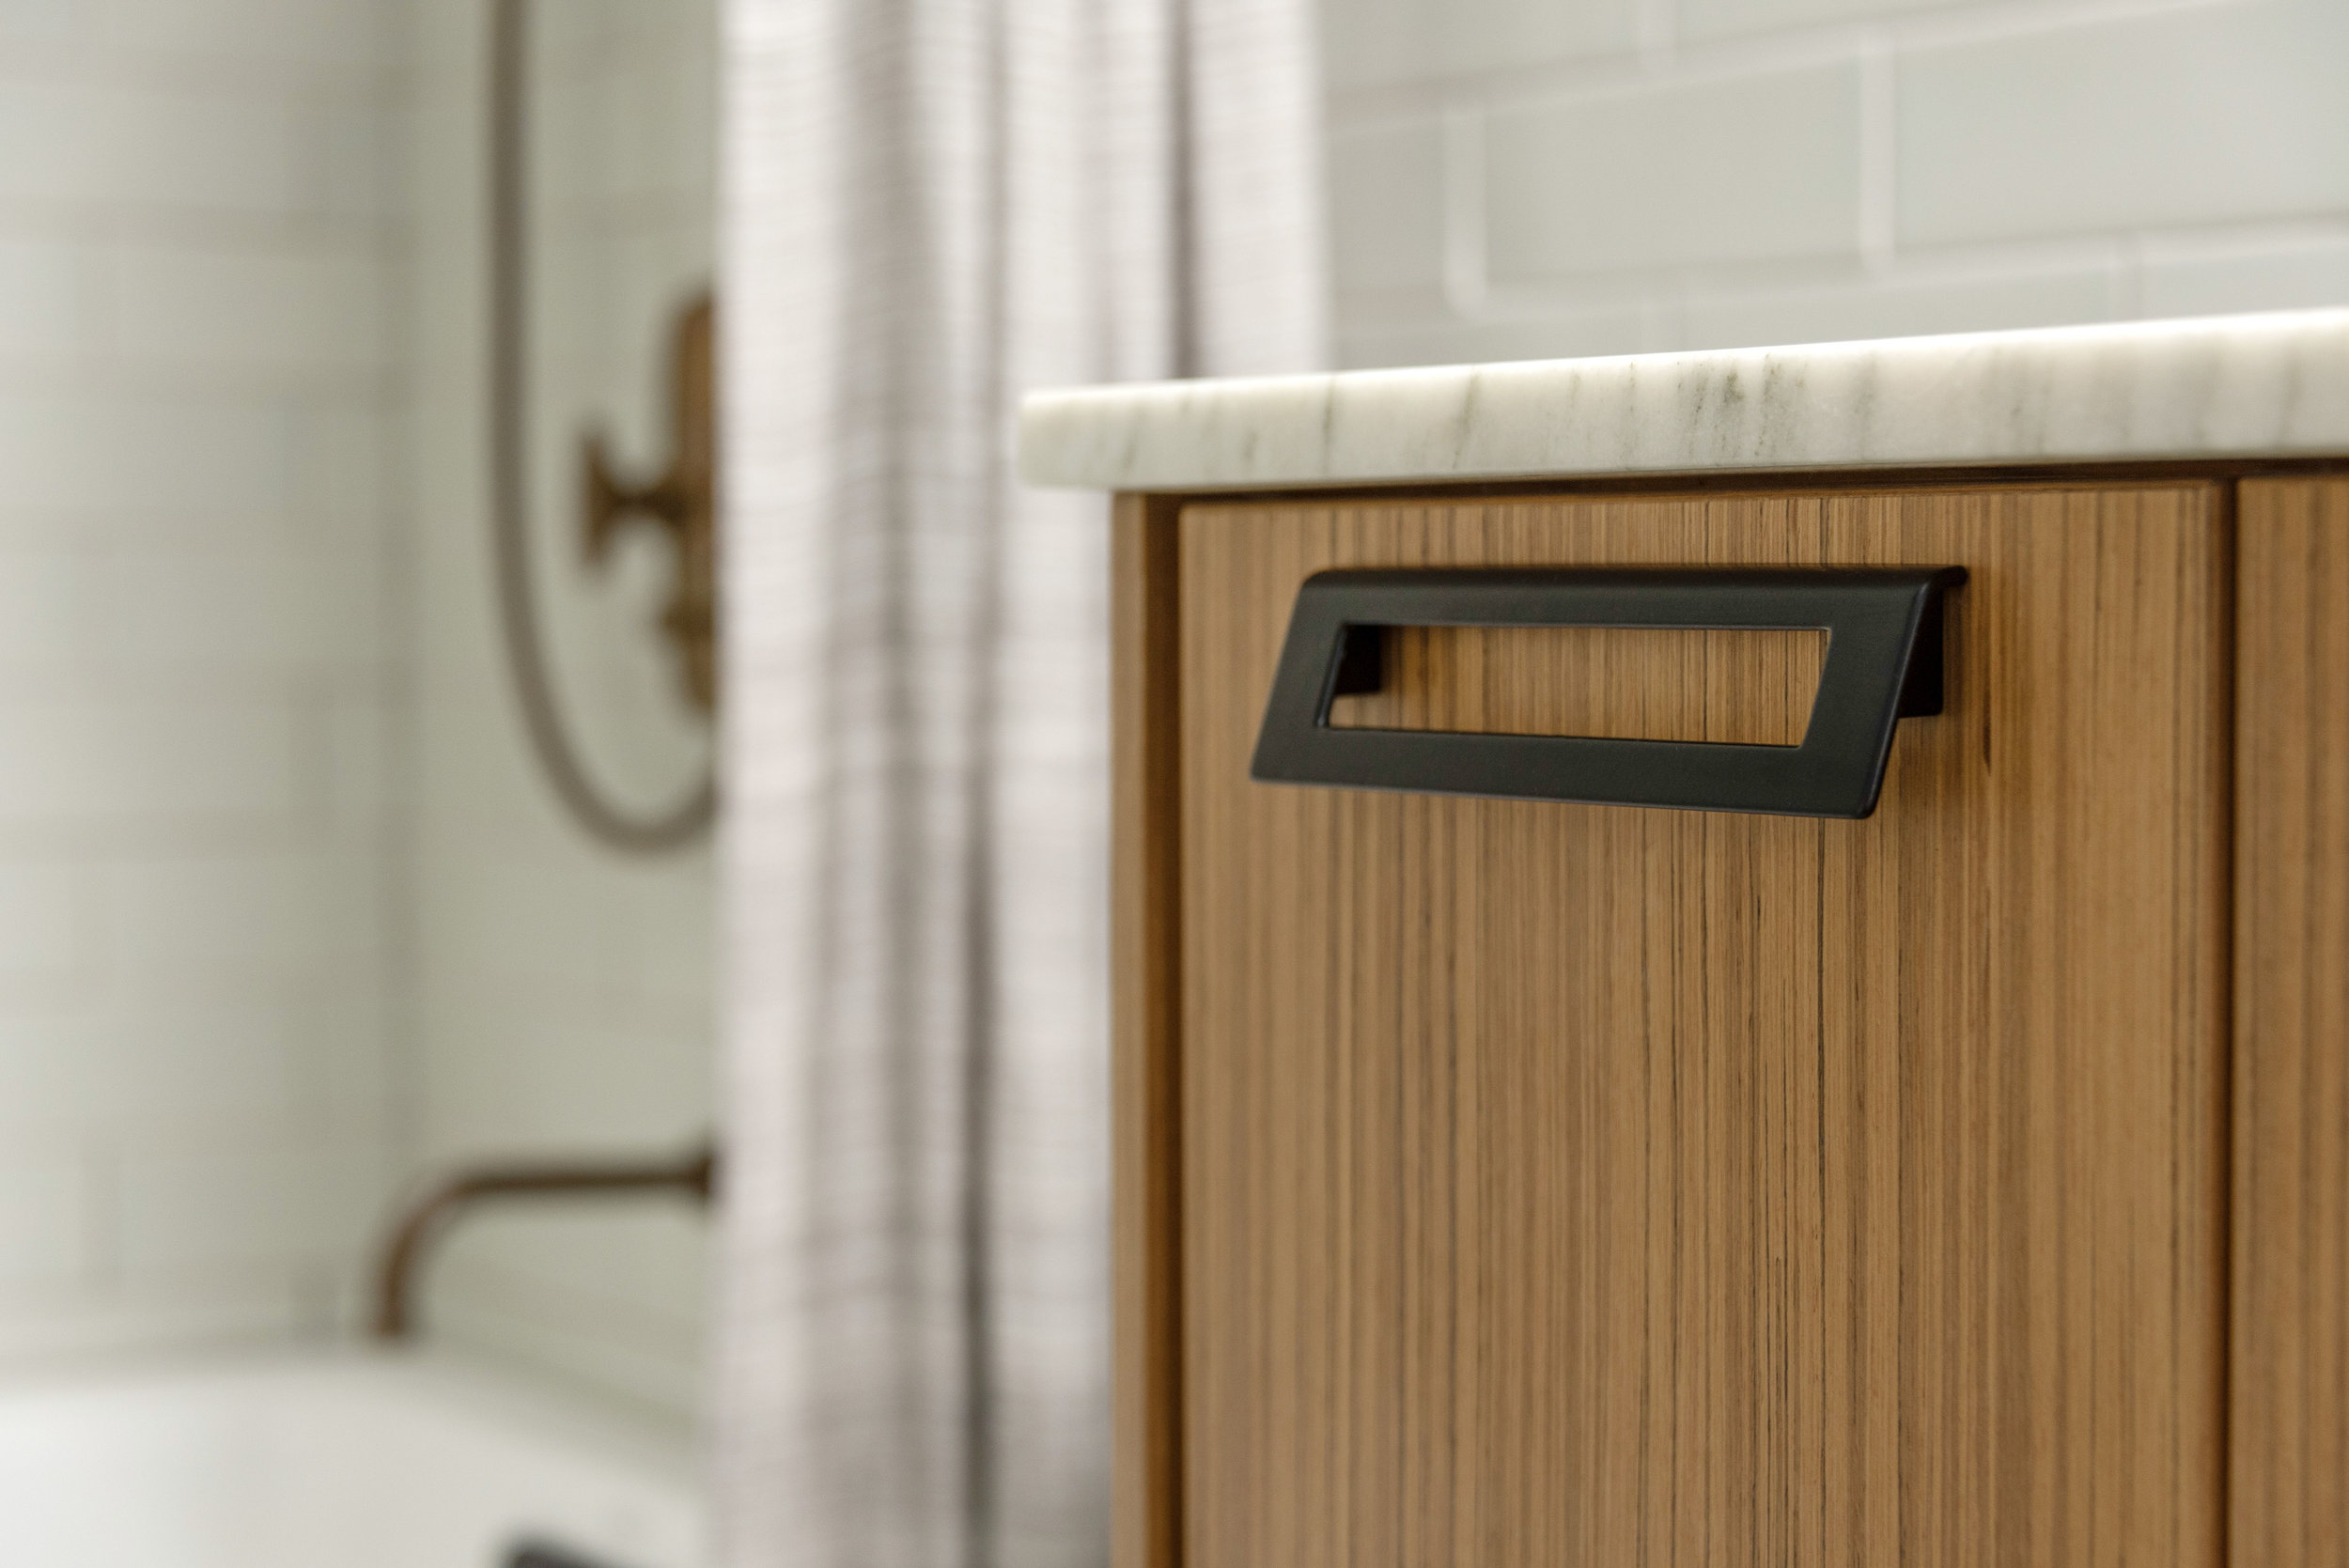
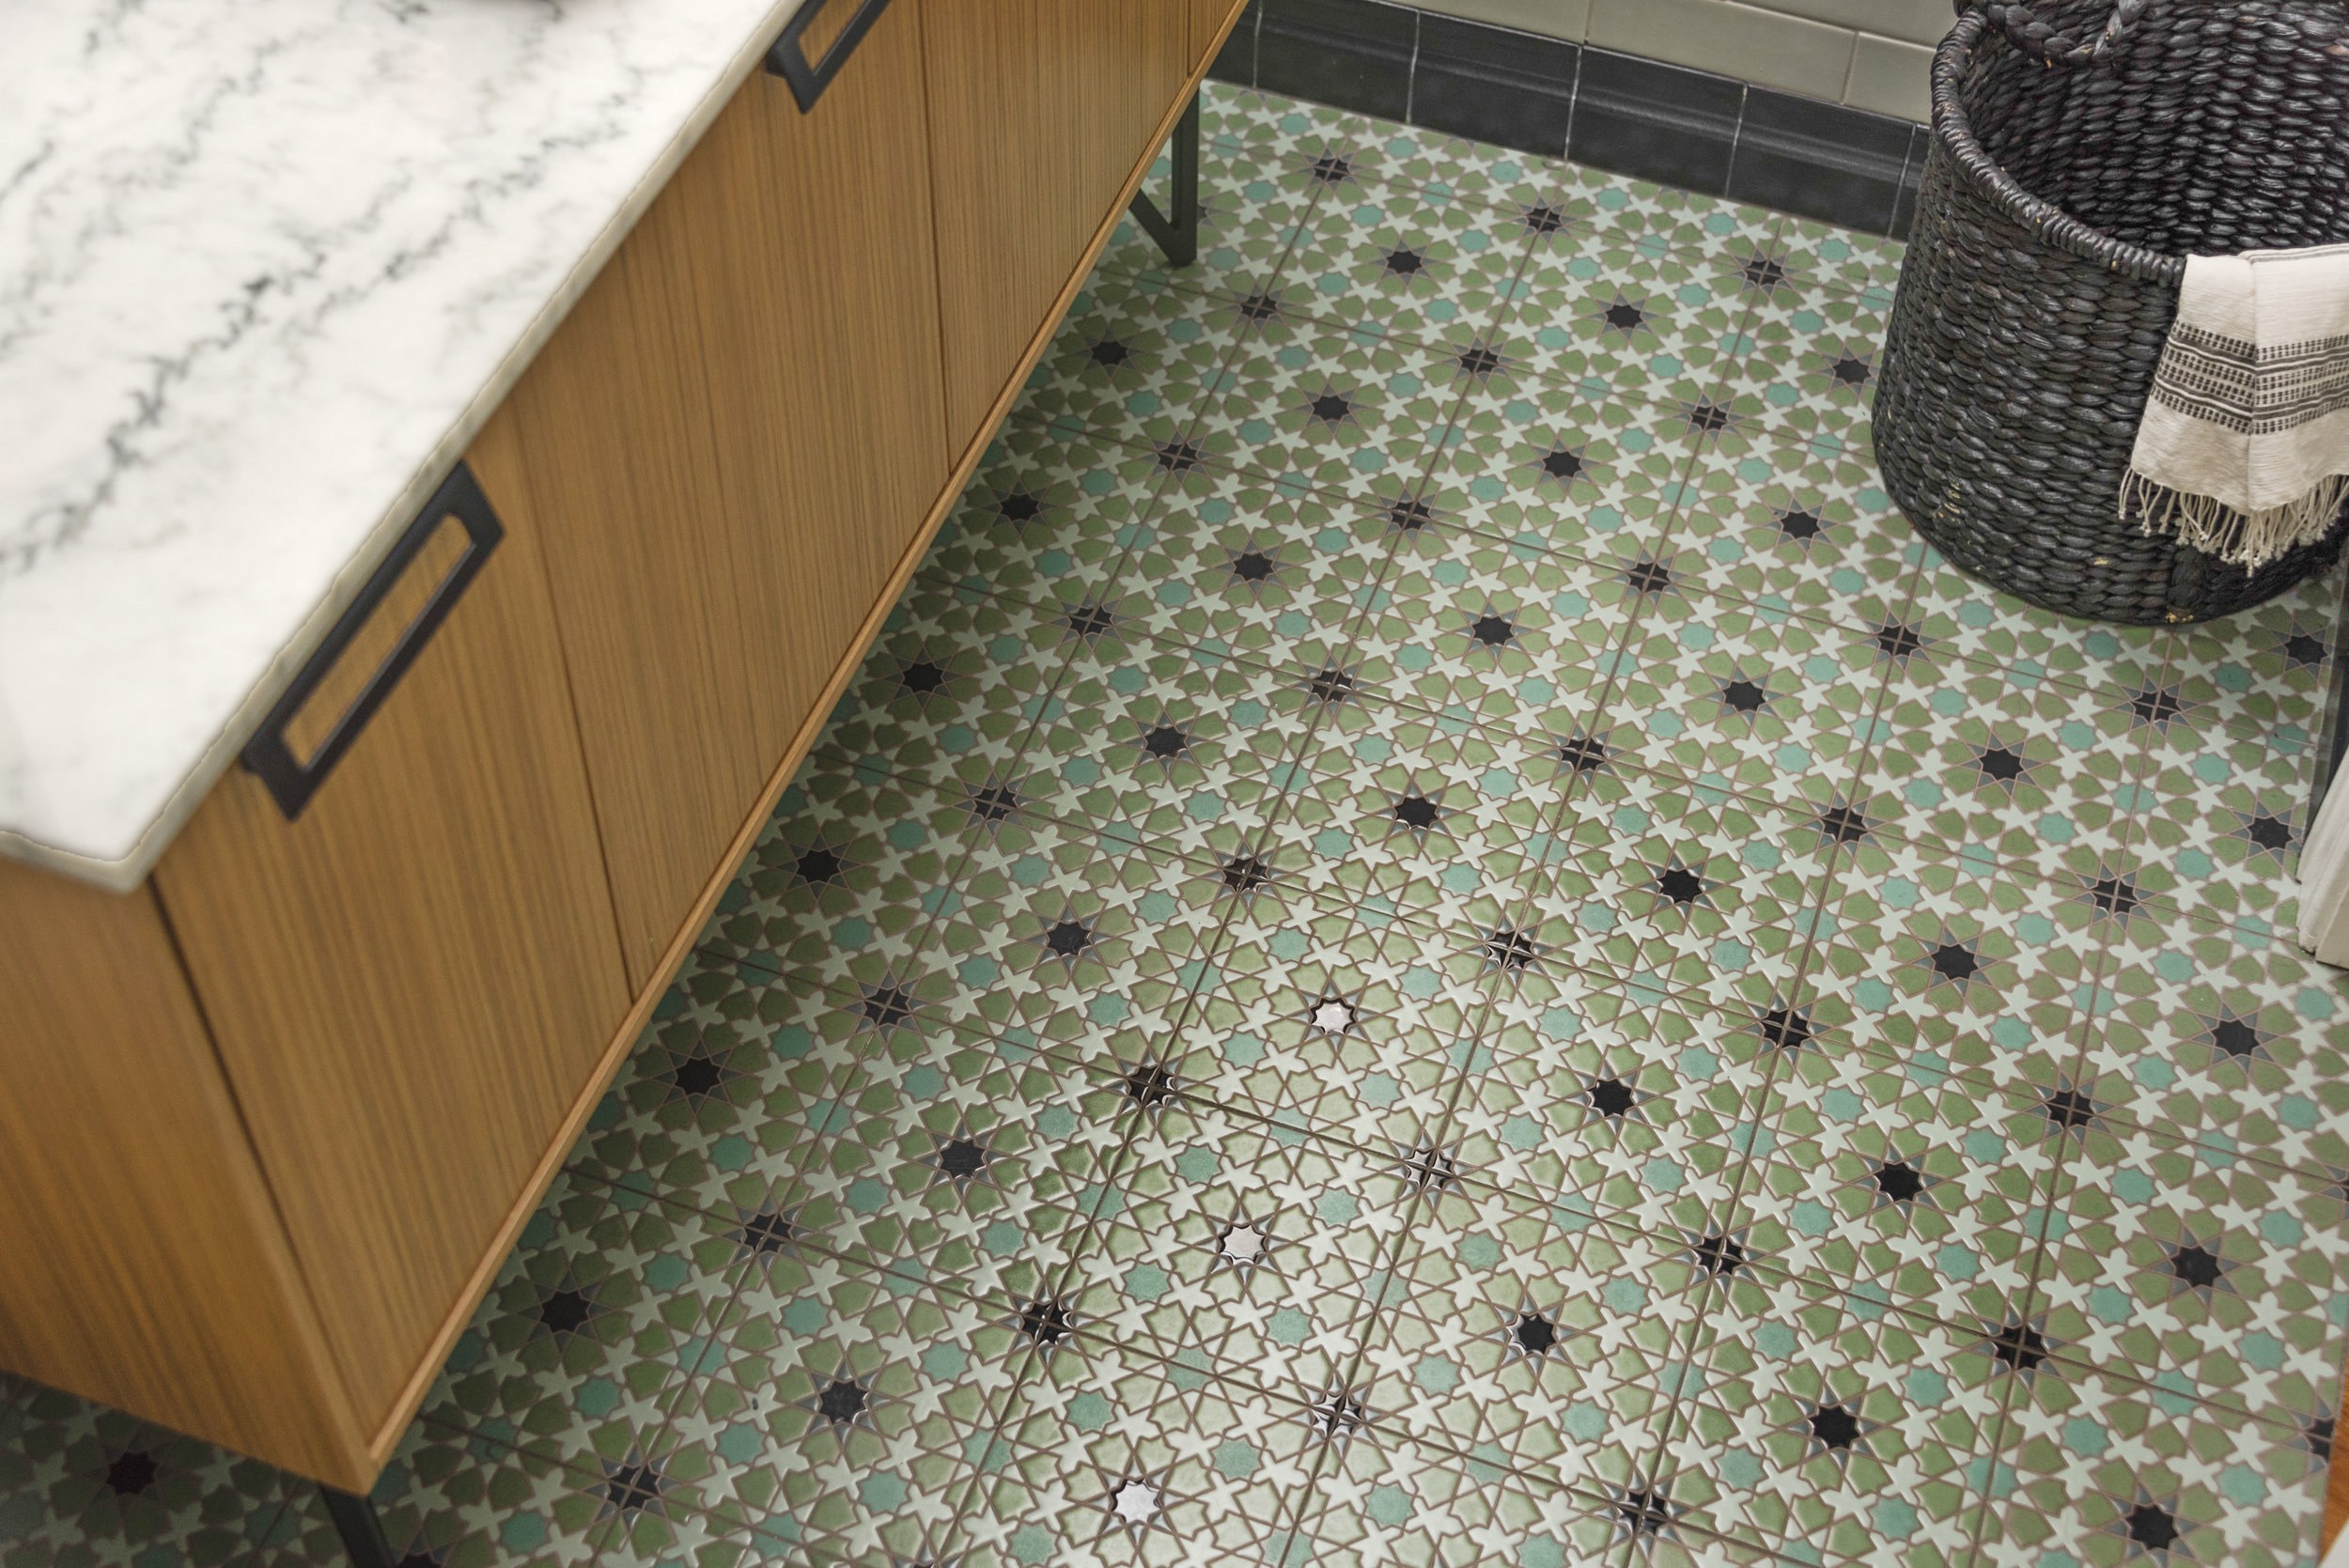
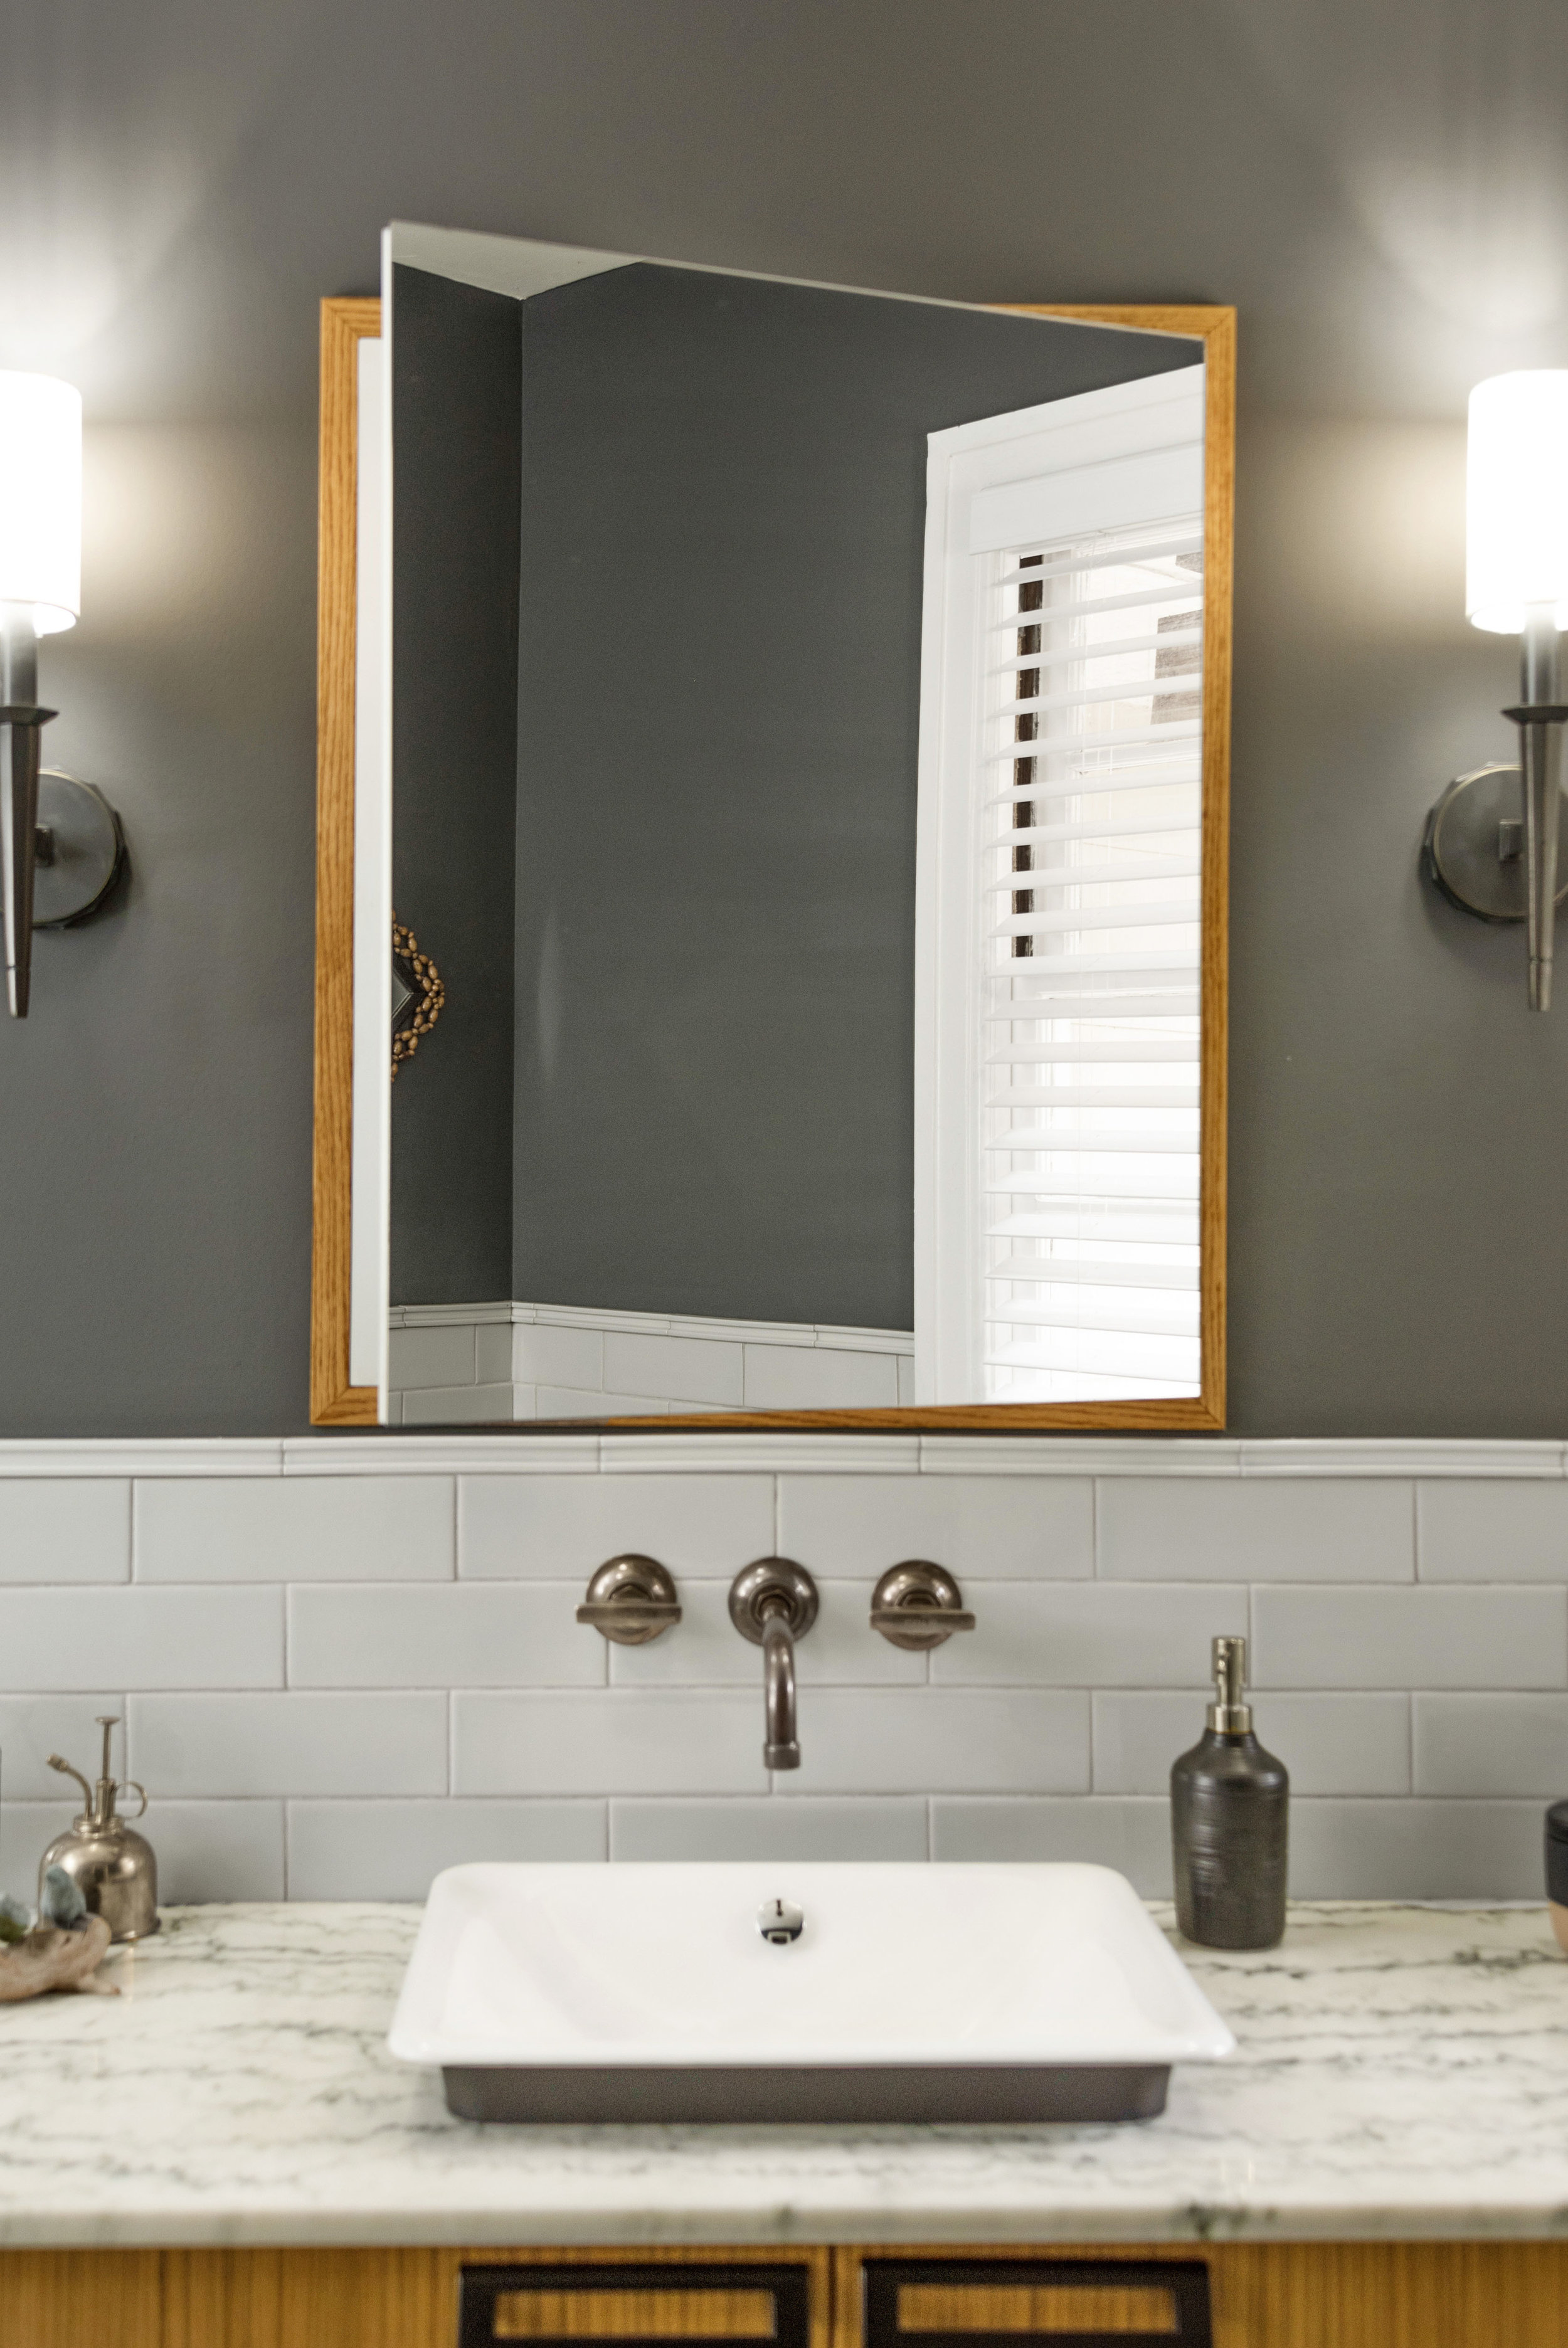
Designer: Bee Studios
Photos by: Rickie Agapito of AOFotos
Floor tile: Fireclay tile
Wall tile: Jeffrey Court
Vanity, Tub, Toilet, Sink, Medicine cabinet: Kohler Co
Countertop: Mont Krest
Plumbing fixtures: Rohl
Vent fan: Broan
Scones: Hudson Valley
Contractor: Popa Construction
Watch the whole transformation of this 1940's bathroom. From the Before, During, and Finale. A compilation of all my IG stories and photos throughout the project. Design by Brooke Eversoll, CMKBD of Bee Studios. Located in St. Petersburg, FL.


